The tool cards
The five cards at the right of the view copy the model, hollow it, turn it into a planter, stamp a watermark and fill the places silicone must not enter. Grid, Hollow, Make Planter and Pocket Fill work while the model is prepared (the READY stage); Watermark only once there is a surface for it, after Make Draft or once the mold is finished. Grid and Hollow are in the Core package, the other three in Pro; the badge in the card's corner says so.
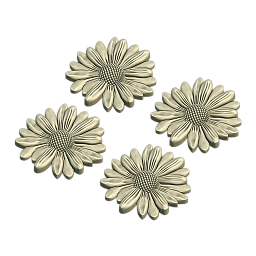 Grid CORE
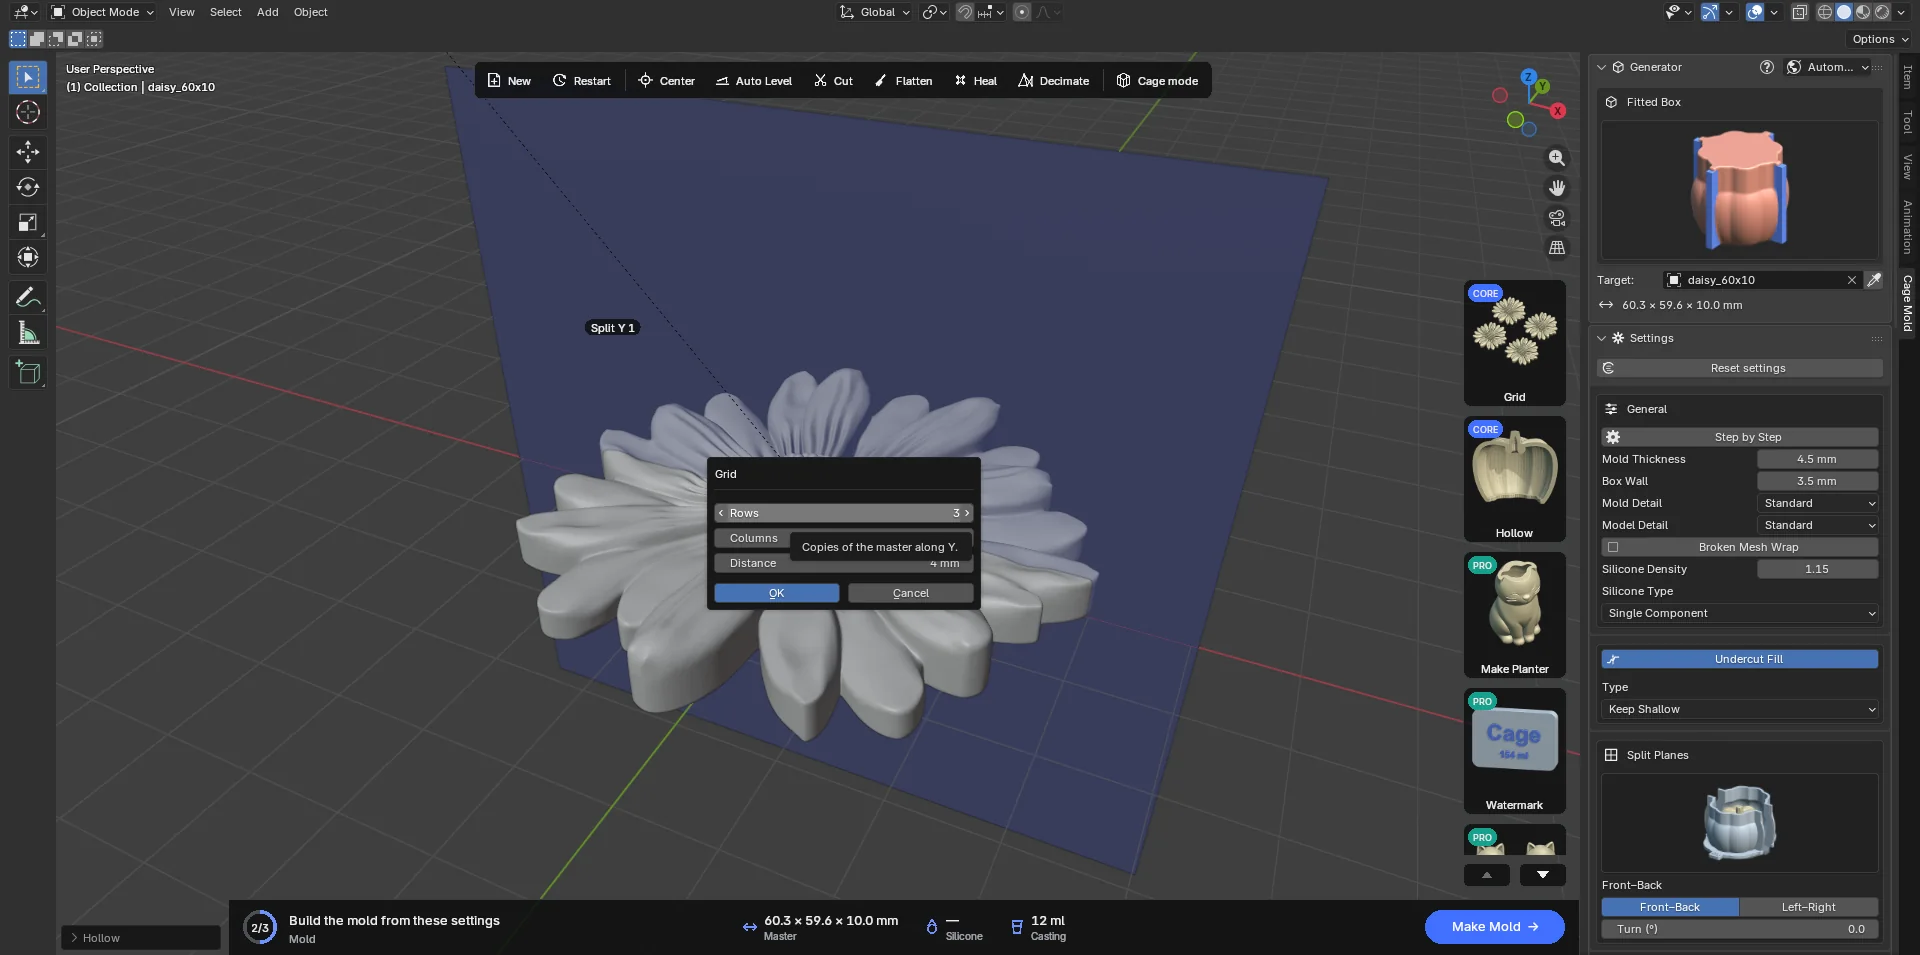
Copies the model into rows and columns, so one mold casts many small parts. The card opens a small dialog:
- Rows: copies along Y (3 by default).
- Columns: copies along X (3).
- Distance: the gap between neighbouring copies' bounding boxes (4 mm).
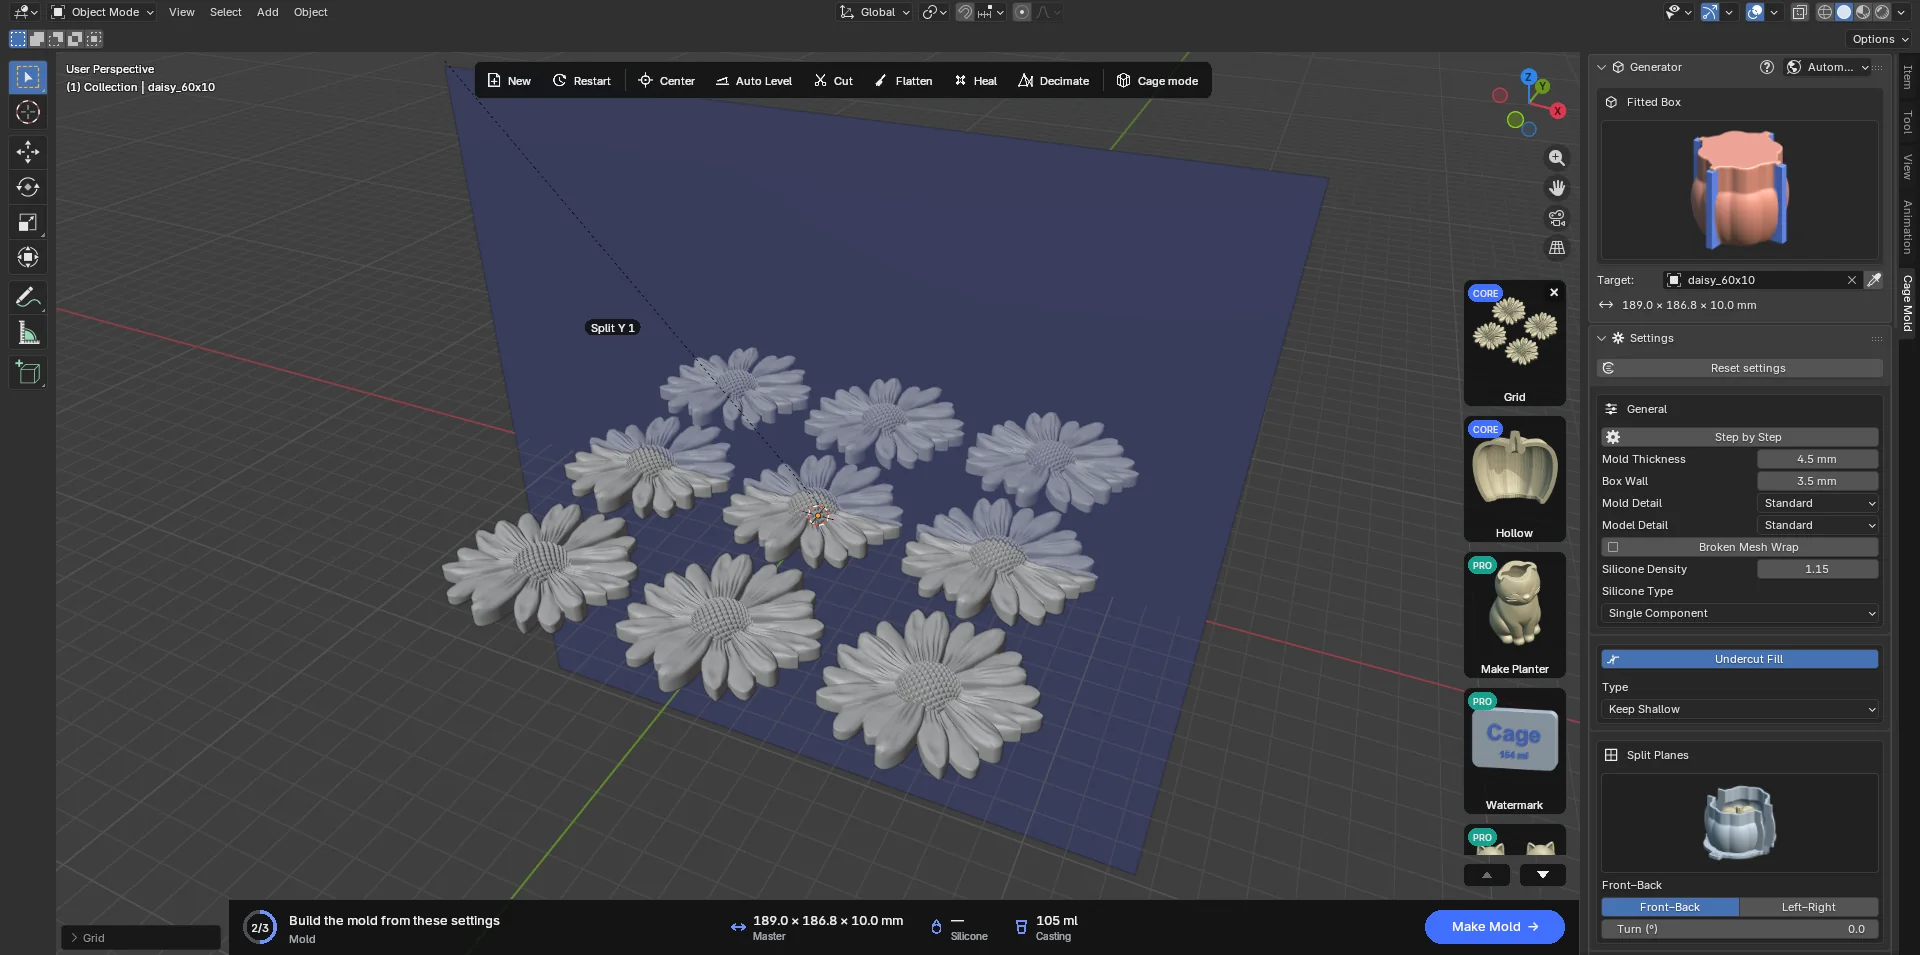
OK bakes the copies into the model's own mesh; from then on Cage Mold sees one model and molds it as one. The grid keeps the model's X/Y centre and its floor. The original is kept: the × on the card (Remove Grid) brings it back. Pressing Grid on a gridded model re-grids the original with the new numbers; it never grids the grid.
It is used most with the Tray type: lay a flat relief out 3 × 3 and cast it in one pan.
 Hollow CORE
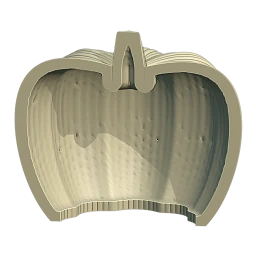
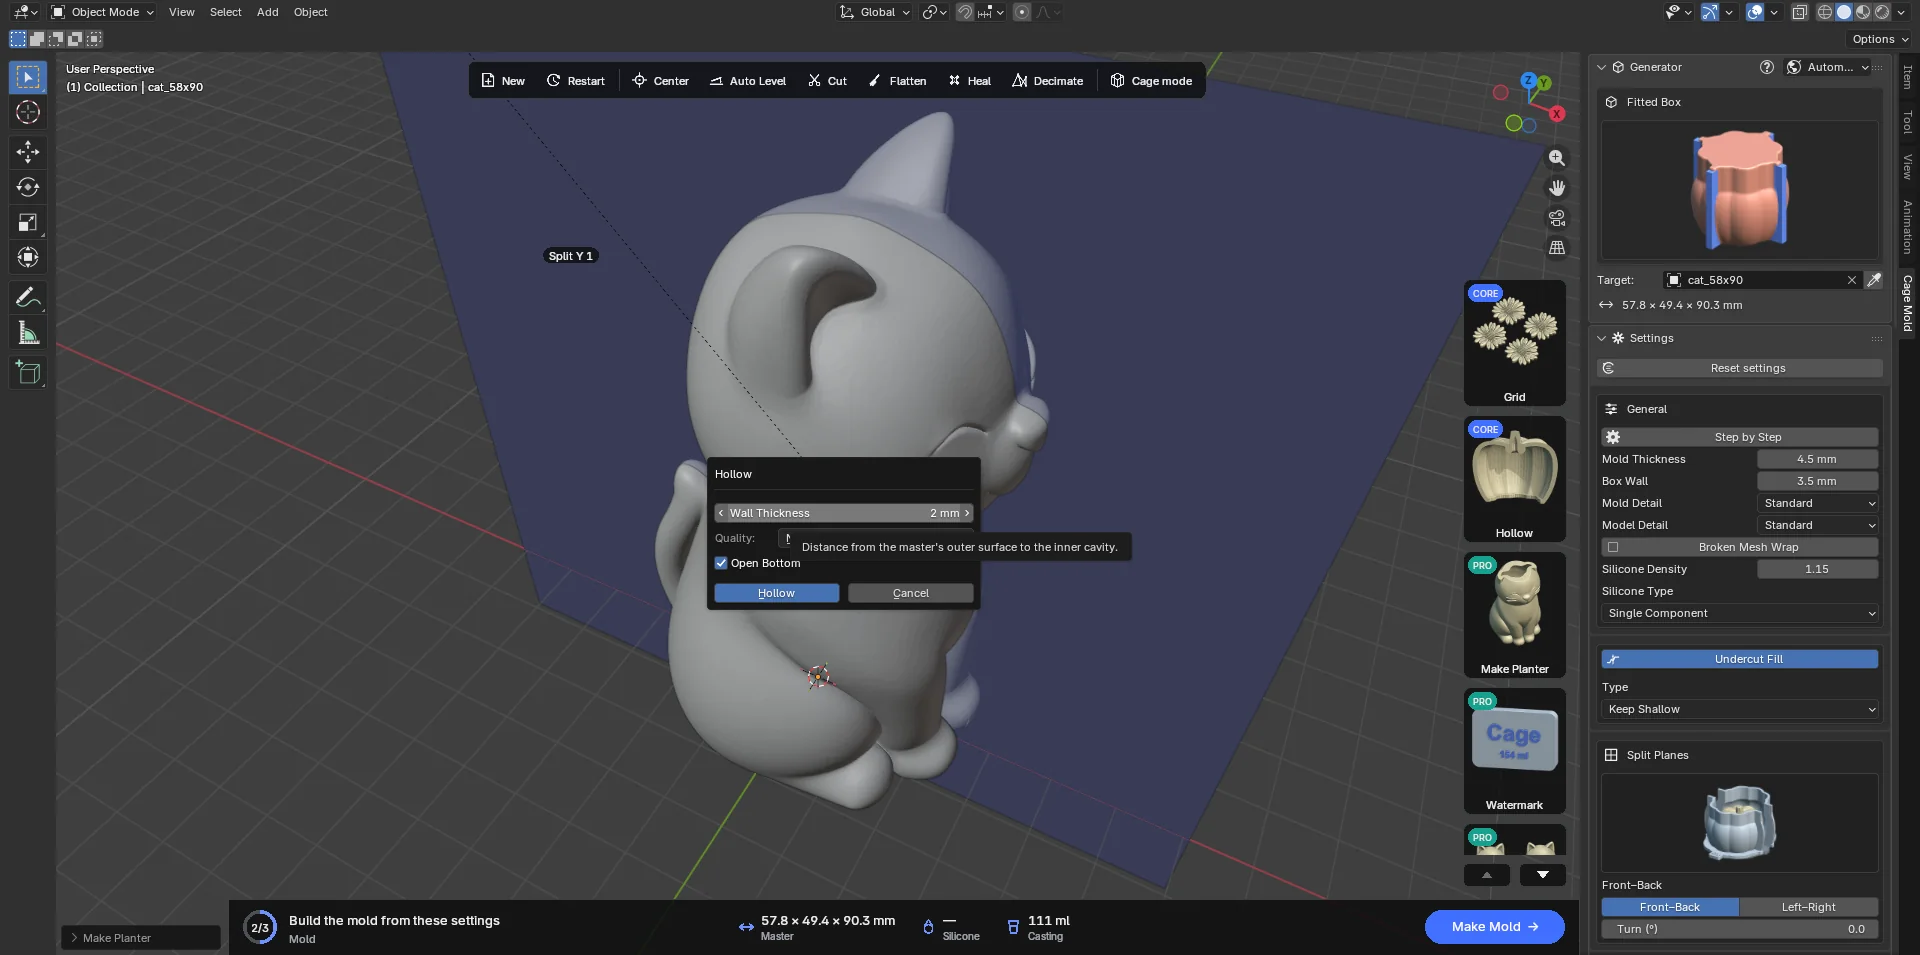
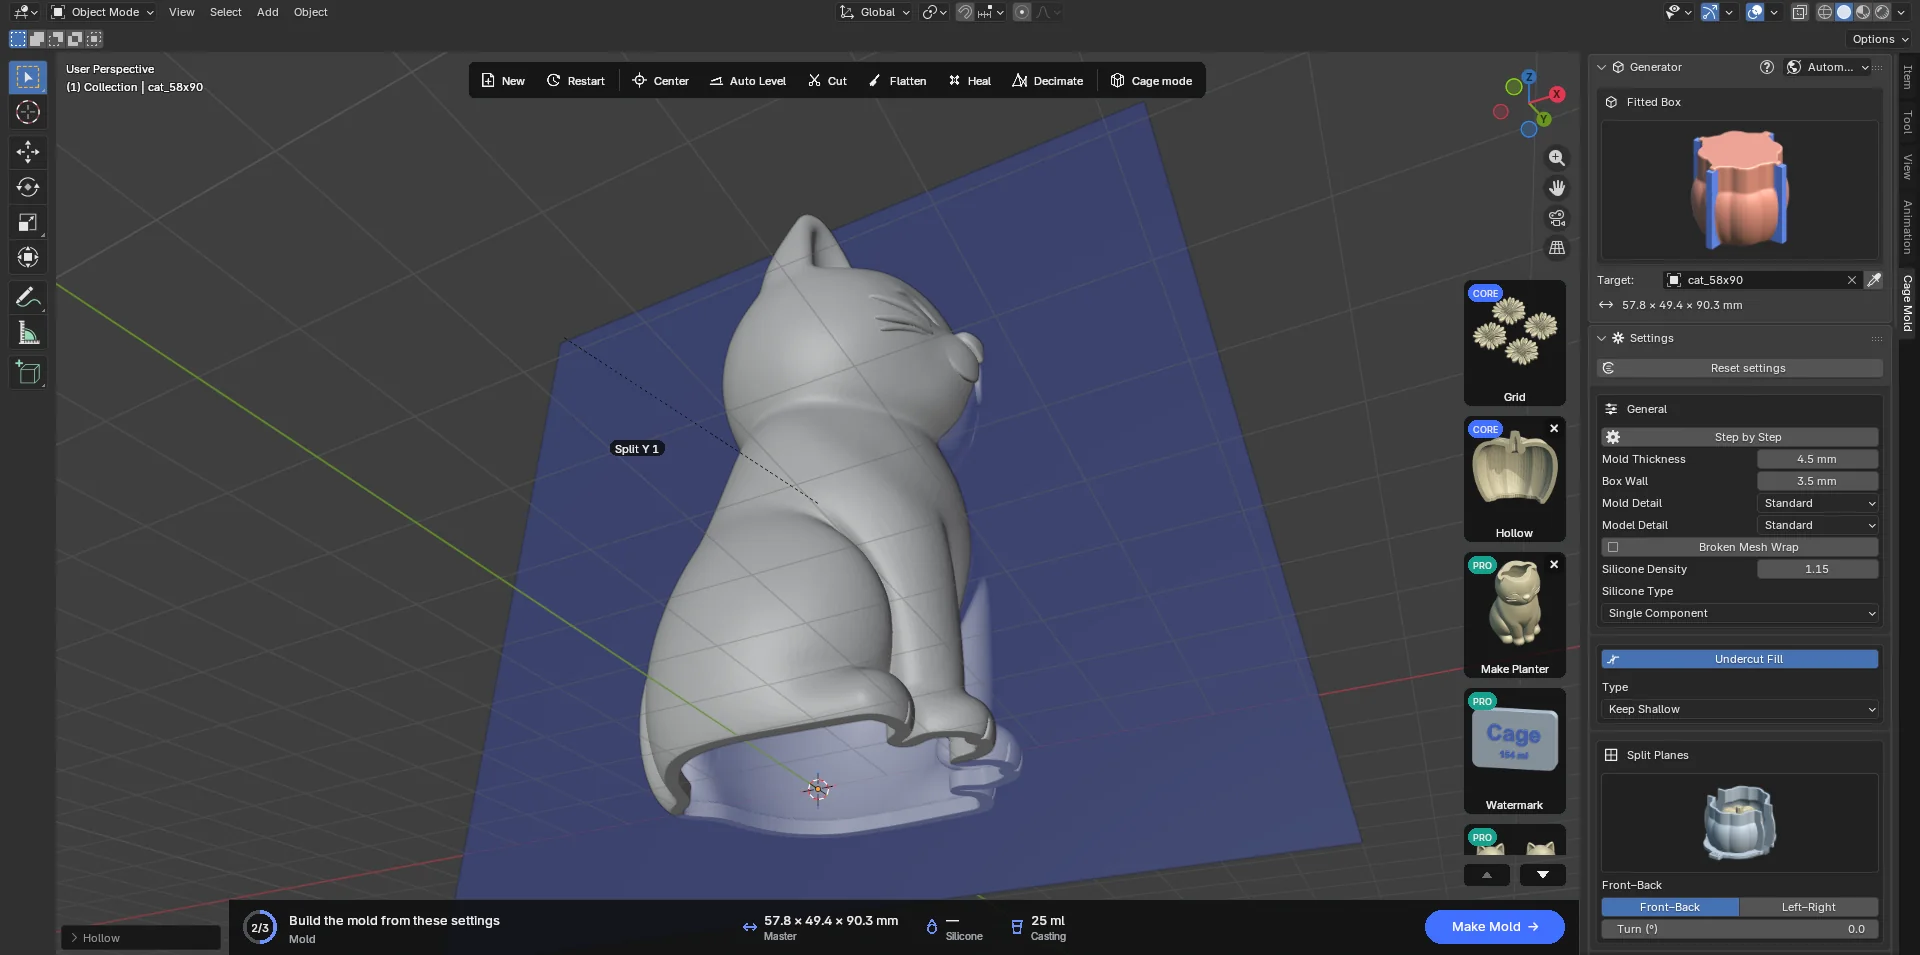
Opens a cavity inside the model at the same distance from its surface everywhere; the model becomes a hollow shell. It is the model that changes, not a printed part: a hollow model takes less filament and prints faster. The mold still takes the model's outside: with Open Bottom the opening stands shut on the base, so no silicone gets in and the cast comes out solid. Once the mold is built, the silicone and the casting volume are worked out for the solid model; before that, the card's Casting figure shows only the shell's volume.
- Wall Thickness: from the outer surface to the cavity (2 mm). Nowhere thinner.
- Quality: the resolution. Draft is quickest and coarsest, Normal balanced, Fine slower and smoother.
- Open Bottom (on): the cavity opens through the model's bottom face, leaving a rim at least as wide as the wall around the opening. When the bottom is narrower than two walls no opening fits, the cavity stays closed and the status bar says so.
The work runs in the background ("Hollowing 2.3 s"); Esc cancels. A model too thin for the wall is refused ("A 2 mm wall leaves no room for a cavity in this master"). An open (not closed) model asks for Heal first. The original is kept; the × on the card (Remove Hollow) brings it back. A second Hollow always works from the original.
 Make Planter PRO
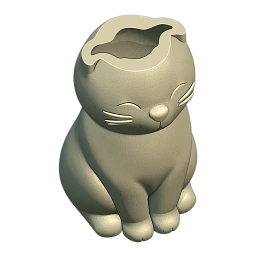
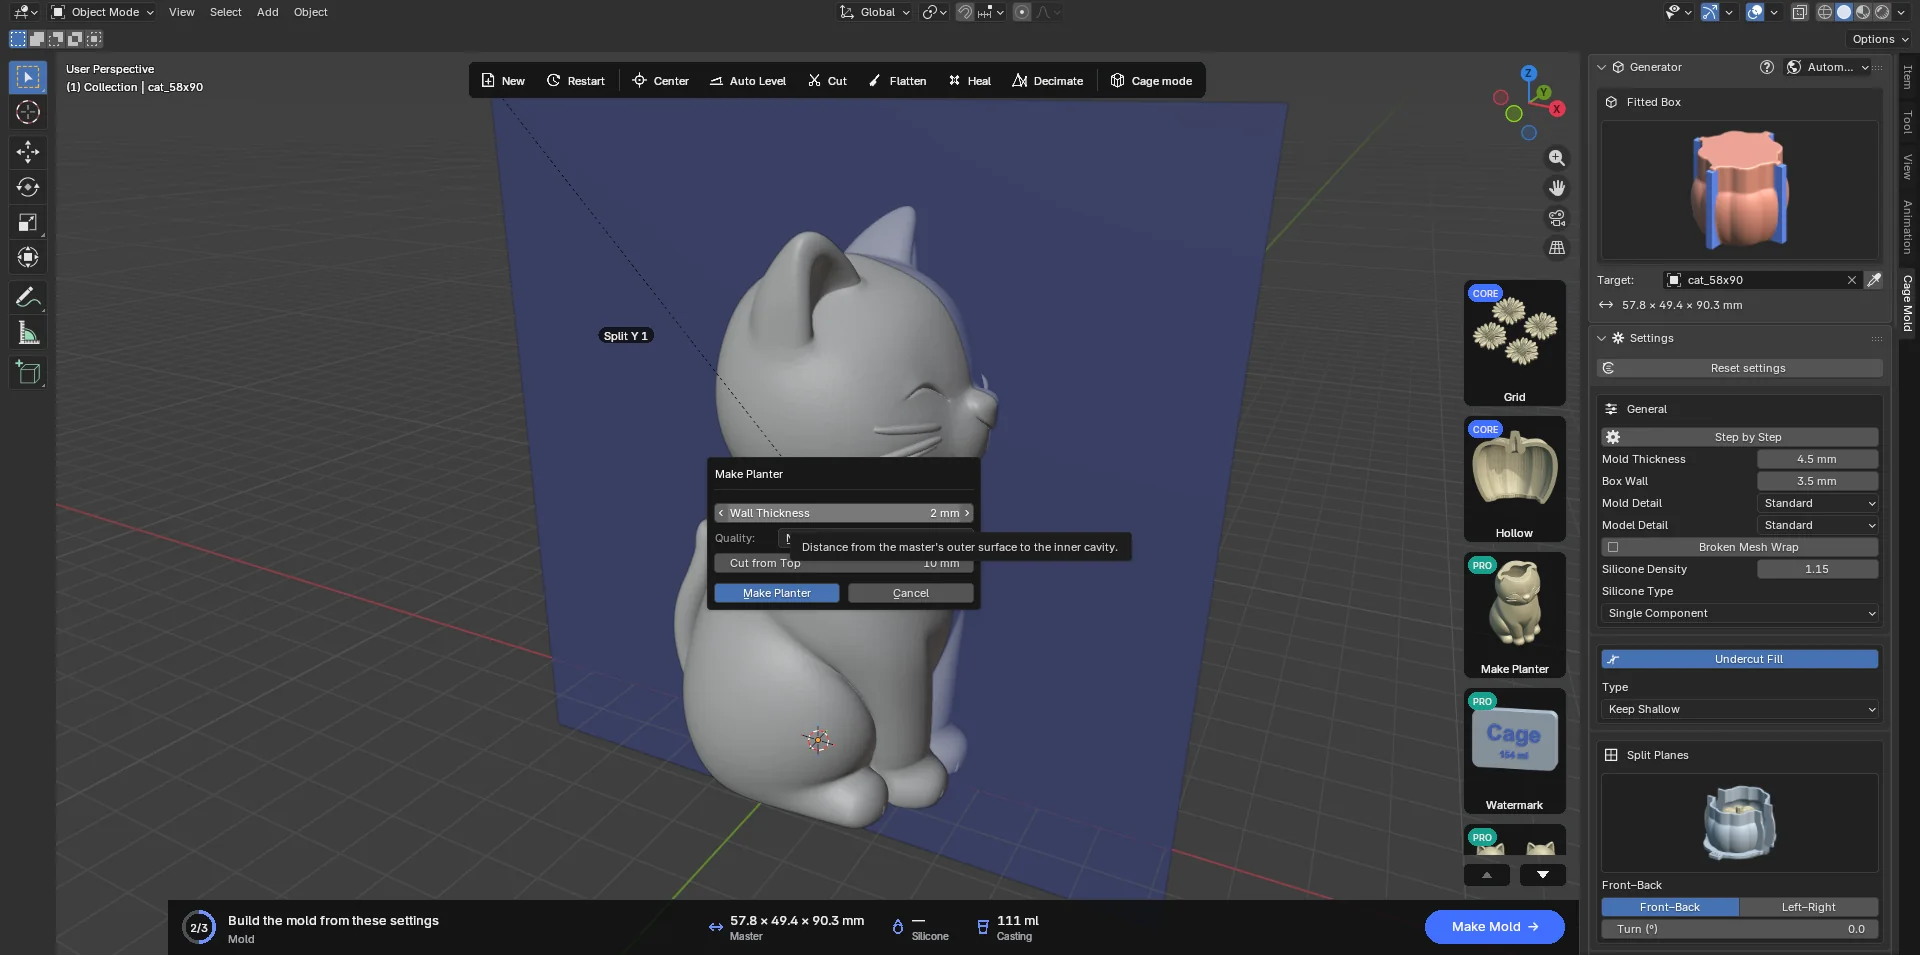
Turns the model into a planter: cuts its top flat, hollows it and opens the cavity through the cut face. The result is a pot with a rim at least the wall wide and a floor the wall thick. It is the shortest way from a statue or an animal figure to a planter, a candle holder or a pen cup.
- Wall Thickness and Quality: as in Hollow (2 mm, Normal).
- Cut from Top: how much is cut off the model's top (10 mm).
A cut thinner than the wall grows to wall + 1 mm. When the largest part of the cavity does not reach the cut (a thin top: a stem, an ear), the cut is made deeper by itself, and the value used is written in the status bar. The original is kept; × (Remove Hollow) brings it back.
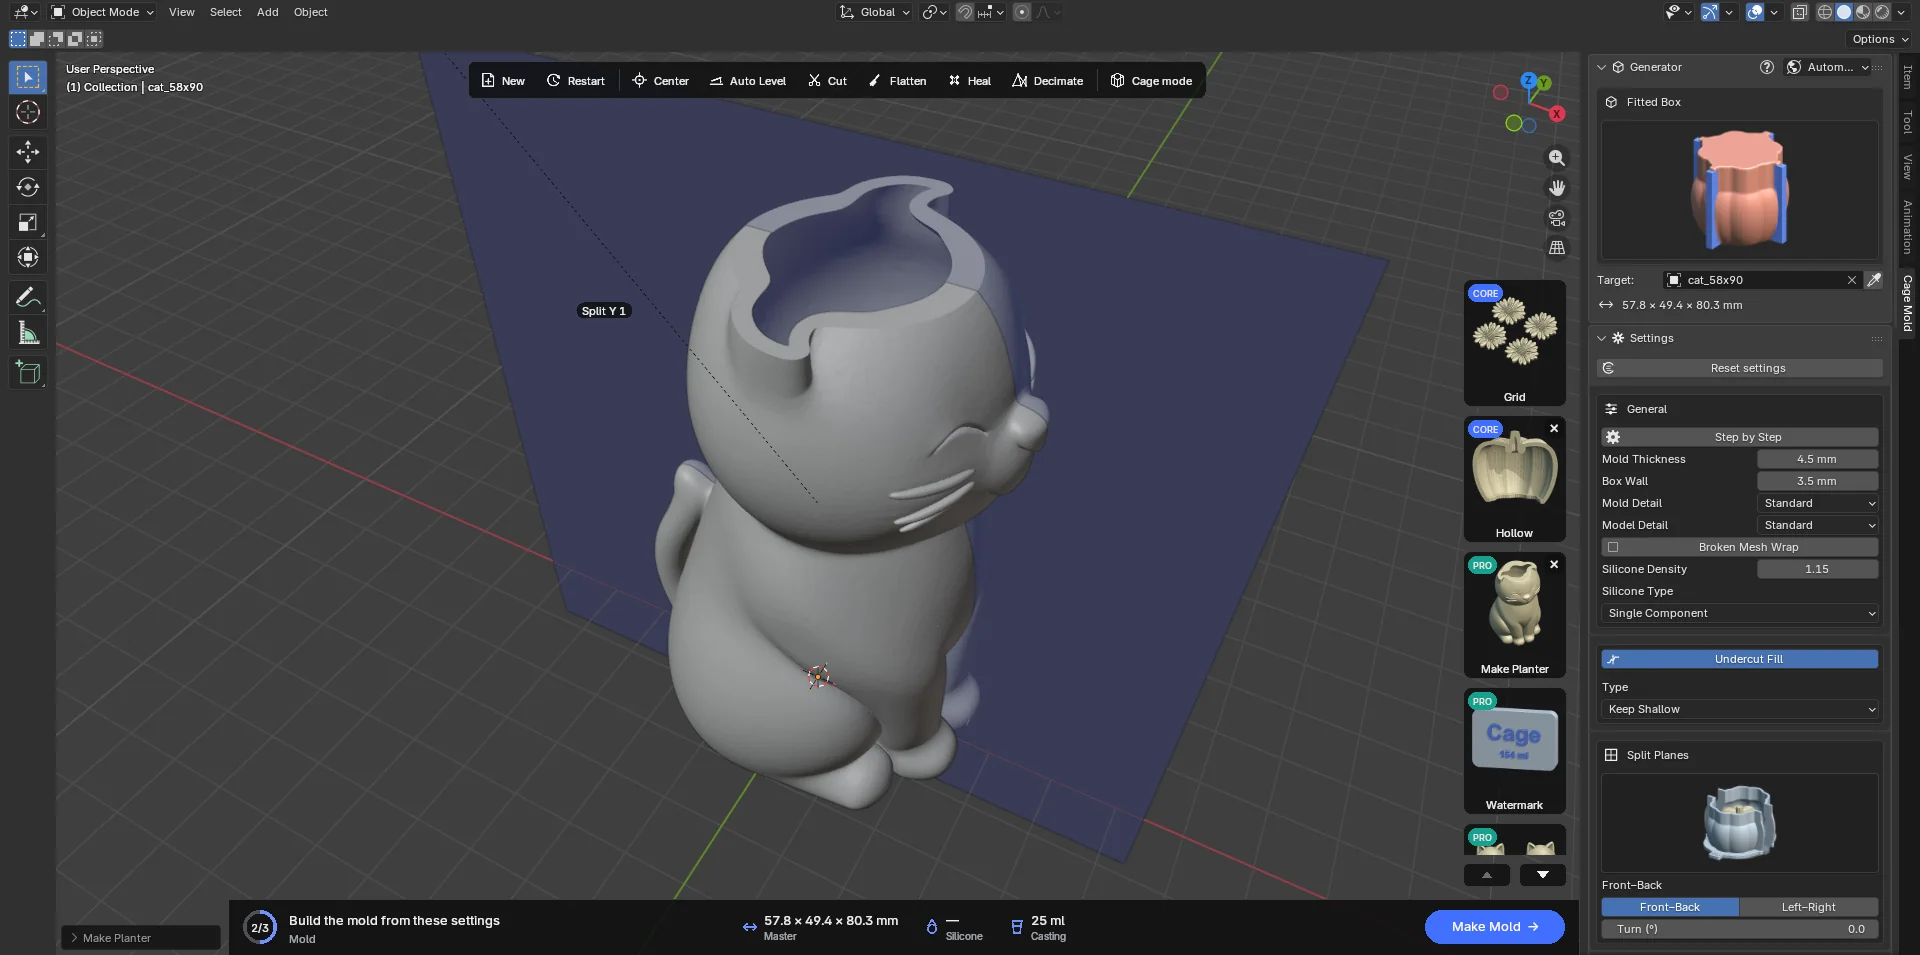
 Watermark PRO
Engraves or raises a text, a logo or the casting volume on the silicone or on the printed parts. A raised mark on the silicone comes out recessed in every cast, an engraved one raised; it is the way to carry your brand onto every cast.
The mark needs a surface to go on, so the card works only after Make Draft in Step by Step (onto the silicone draft) or once the mold is finished (onto the printed parts). In the READY stage it says "Run Make Mold or finish the mold first: the watermark goes on its silicone or its parts" (Make Draft in Step by Step).
- Choose the type
A click on the card opens Pick a Mark: Text (one line of text), Image (a logo traced from a PNG/JPG) or Casting Volume (for example "154 ml": how much material the mold takes, written on the part).
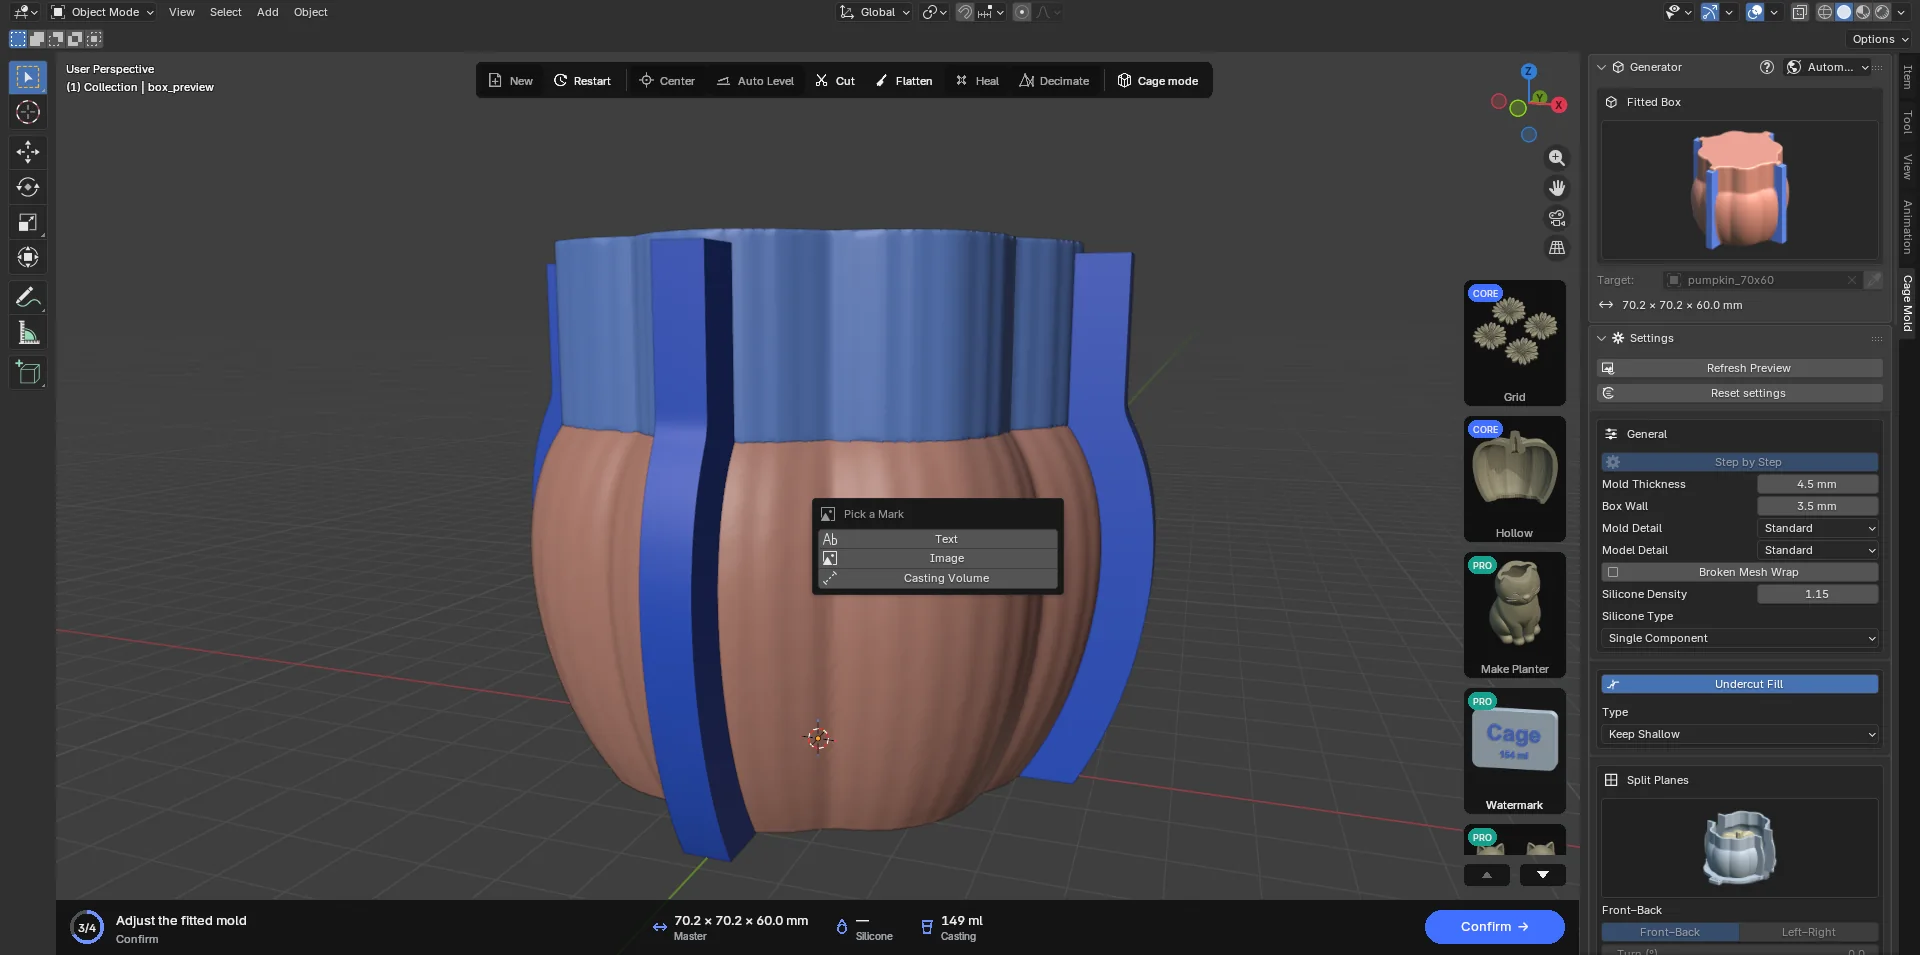
Choosing the watermark type. - Enter the settings
- Watermark Text / Image: the text, or the file. An image's opaque pixels are the ink; without transparency its dark pixels are taken (a mostly dark picture is inverted). The image is traced whole; hairlines and thin letters are kept. A sharp, high-contrast PNG gives the best result.
- Font: Blender Default, Arial or Arial Bold (the font installed on your computer).
- Relief: Engraved or Raised.
- Mirror Image: flips the mark left to right. A text mirrored on the silicone reads the right way on the cast.
- Mark Width: the mark's width (30 mm); it shrinks to fit the smooth part of the wall.
- Extrusion: the engraving depth or the raised height (0.8 mm).
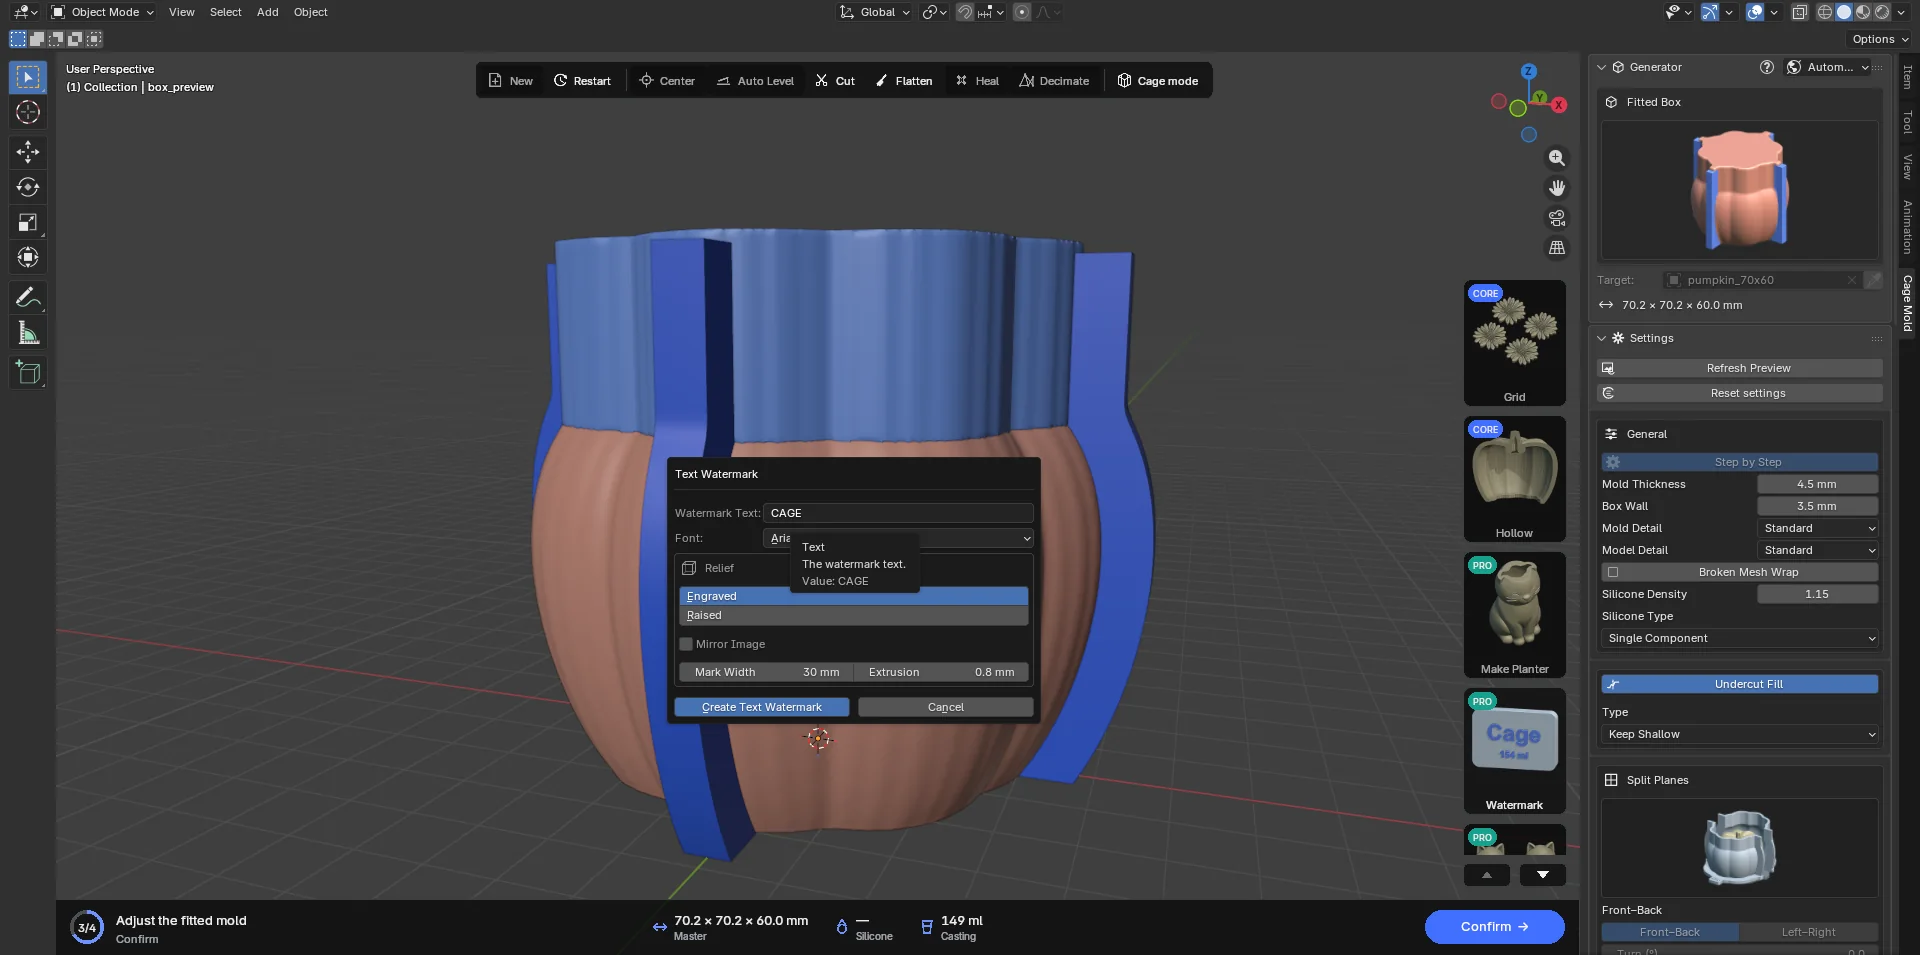
The Text Watermark dialog. - Place it
Pressing Create … Watermark starts placing: a yellow mark follows the mouse, lying flat on the surface. The mouse wheel rotates it, Shift+wheel scales it, Ctrl+wheel zooms the view, the middle mouse button orbits. A click stamps the mark into the object under it at once ("Engraved Text_Watermark_3D into box_preview"); Esc cancels.
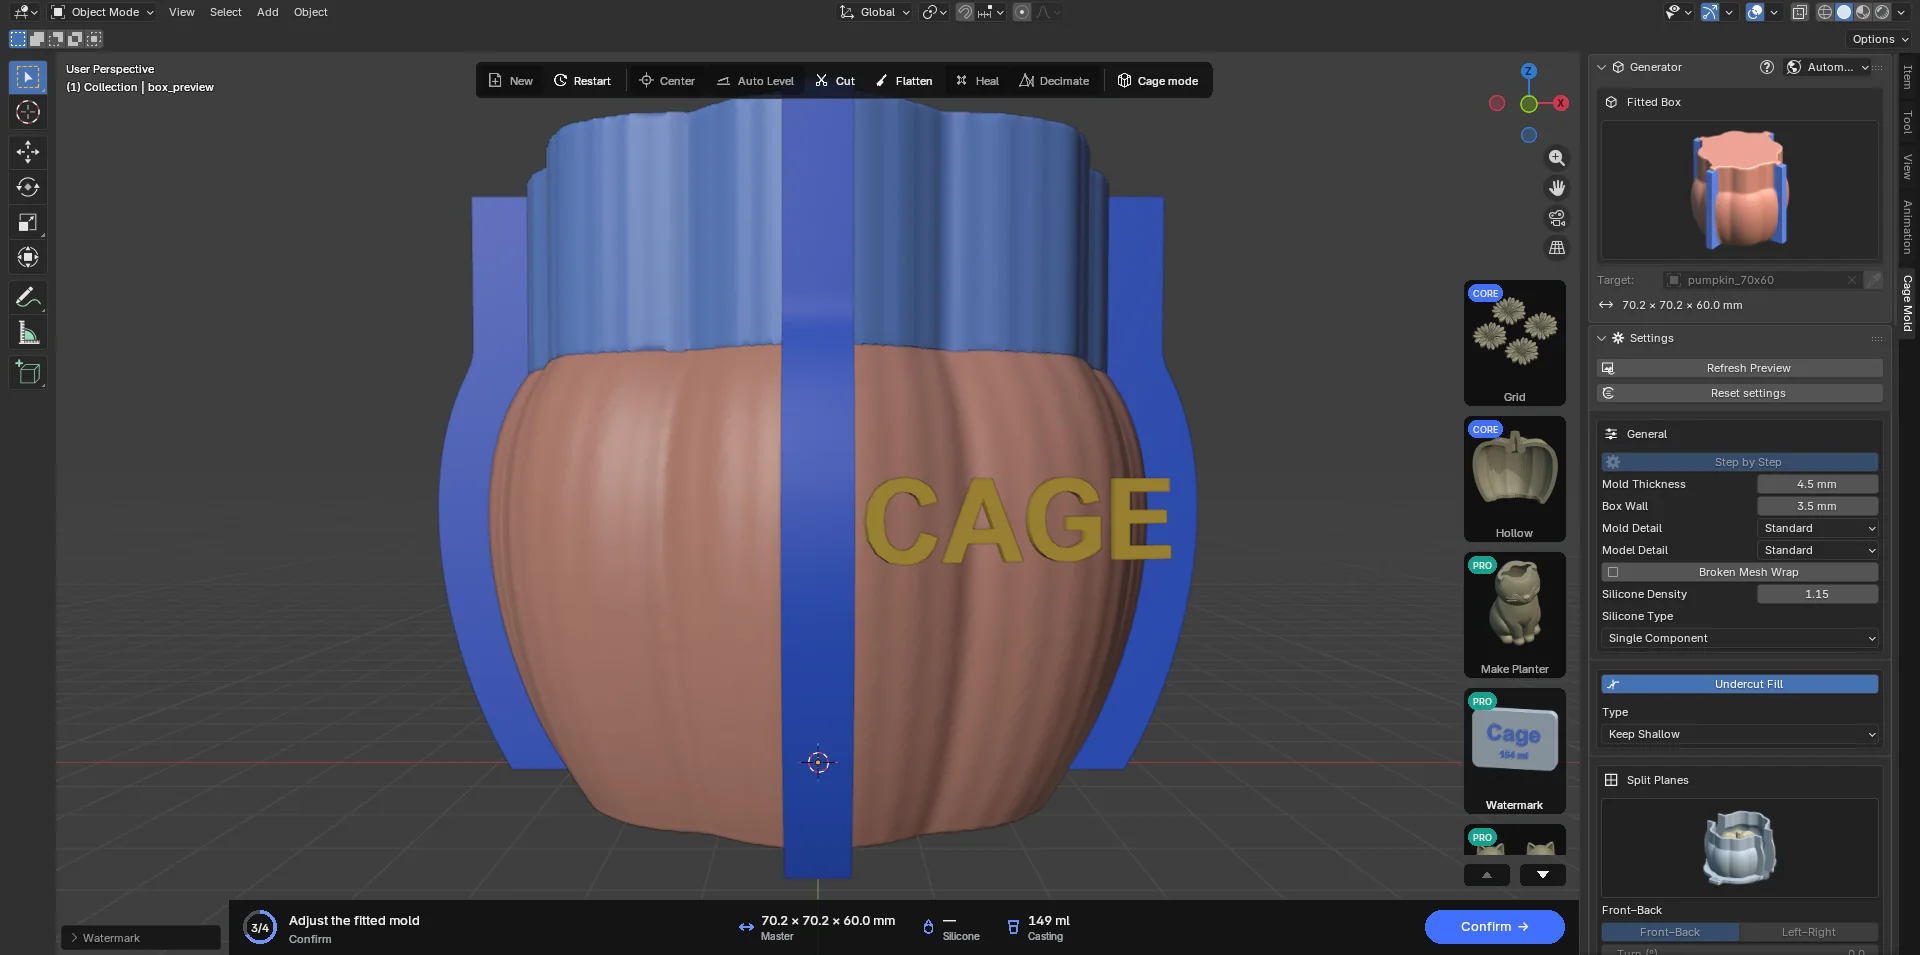
The mark following the mouse. 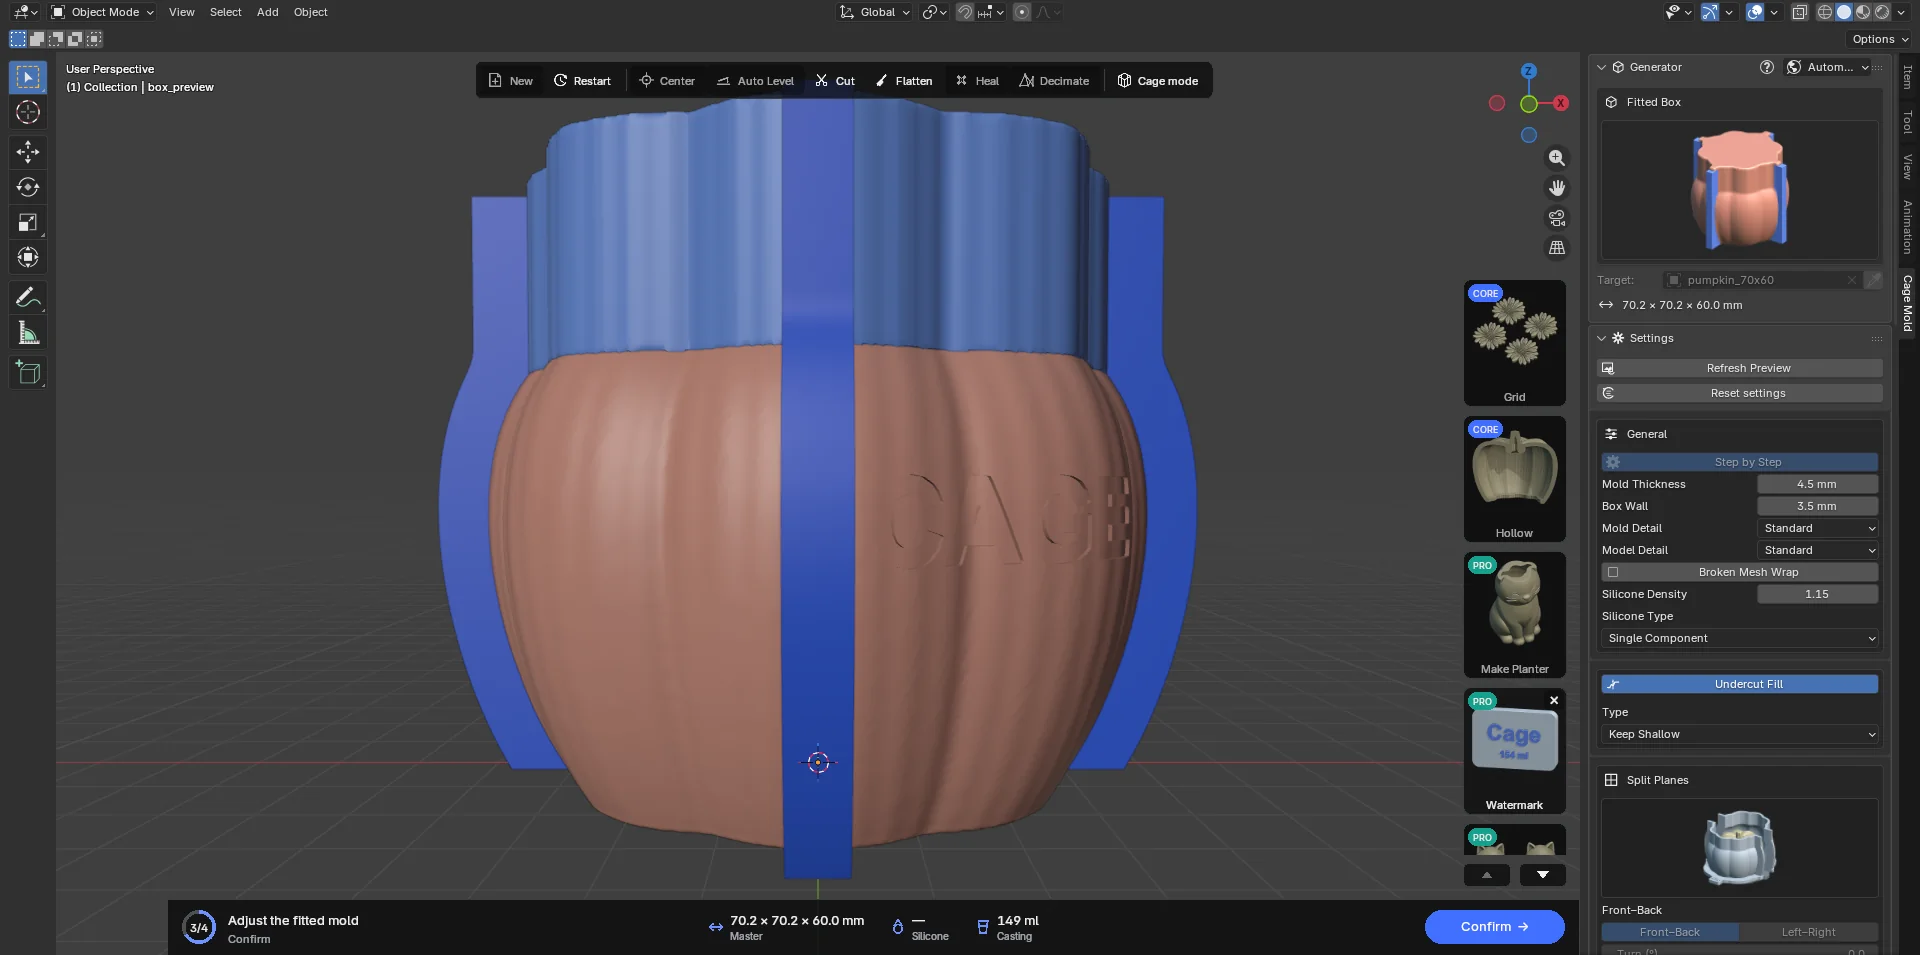
Engraved into the silicone with a click.
Where it goes. In the draft stage the mark is stamped into the silicone; the box, built from the silicone, carries the same mark mirrored on its inside while its outside stays smooth. Confirm rebuilds the silicone at full detail and stamps every recorded mark again. After the mold is finished the mark goes onto the outside of the printed part under the mouse (a box part, the base, the casting box).
The mark is equally deep everywhere, even on a curved surface. An engraving always leaves enough wall behind it; a raised letter hanging past an edge would print loose, so it is left out with a warning. The × on the card (Remove Watermarks) takes every mark off; Ctrl+Z takes back the last one and keeps the dialog's settings.
 Pocket Fill PRO
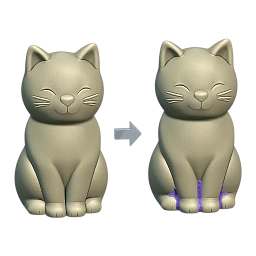
Finds and fills the places of the model silicone must not enter: narrow crevices (silicone forms thin fins there that tear), hollows reached through a narrow opening (between a dog's legs, inside a cup), narrow holes you can see through the model (silicone runs through them as a bridge; a hole between a staff and a robe, say) and air pockets the rising silicone cannot empty. The fillers come as separate objects; you delete the ones you do not want, the rest are added to the model.
- Build Seal
The card opens the Pocket Fill dialog: Detail (Draft / Quick / Standard / Fine; finer takes longer) and Smooth. With Smooth off (the default) the fillers sit a little behind their opening and are bumpy, so they do not show on a sculpted model; on a plain, smooth model tick Smooth and the fillers come flush with the opening and polished. Build Seal runs the work in the background ("Finding cavities 3.2 s"); Esc cancels.
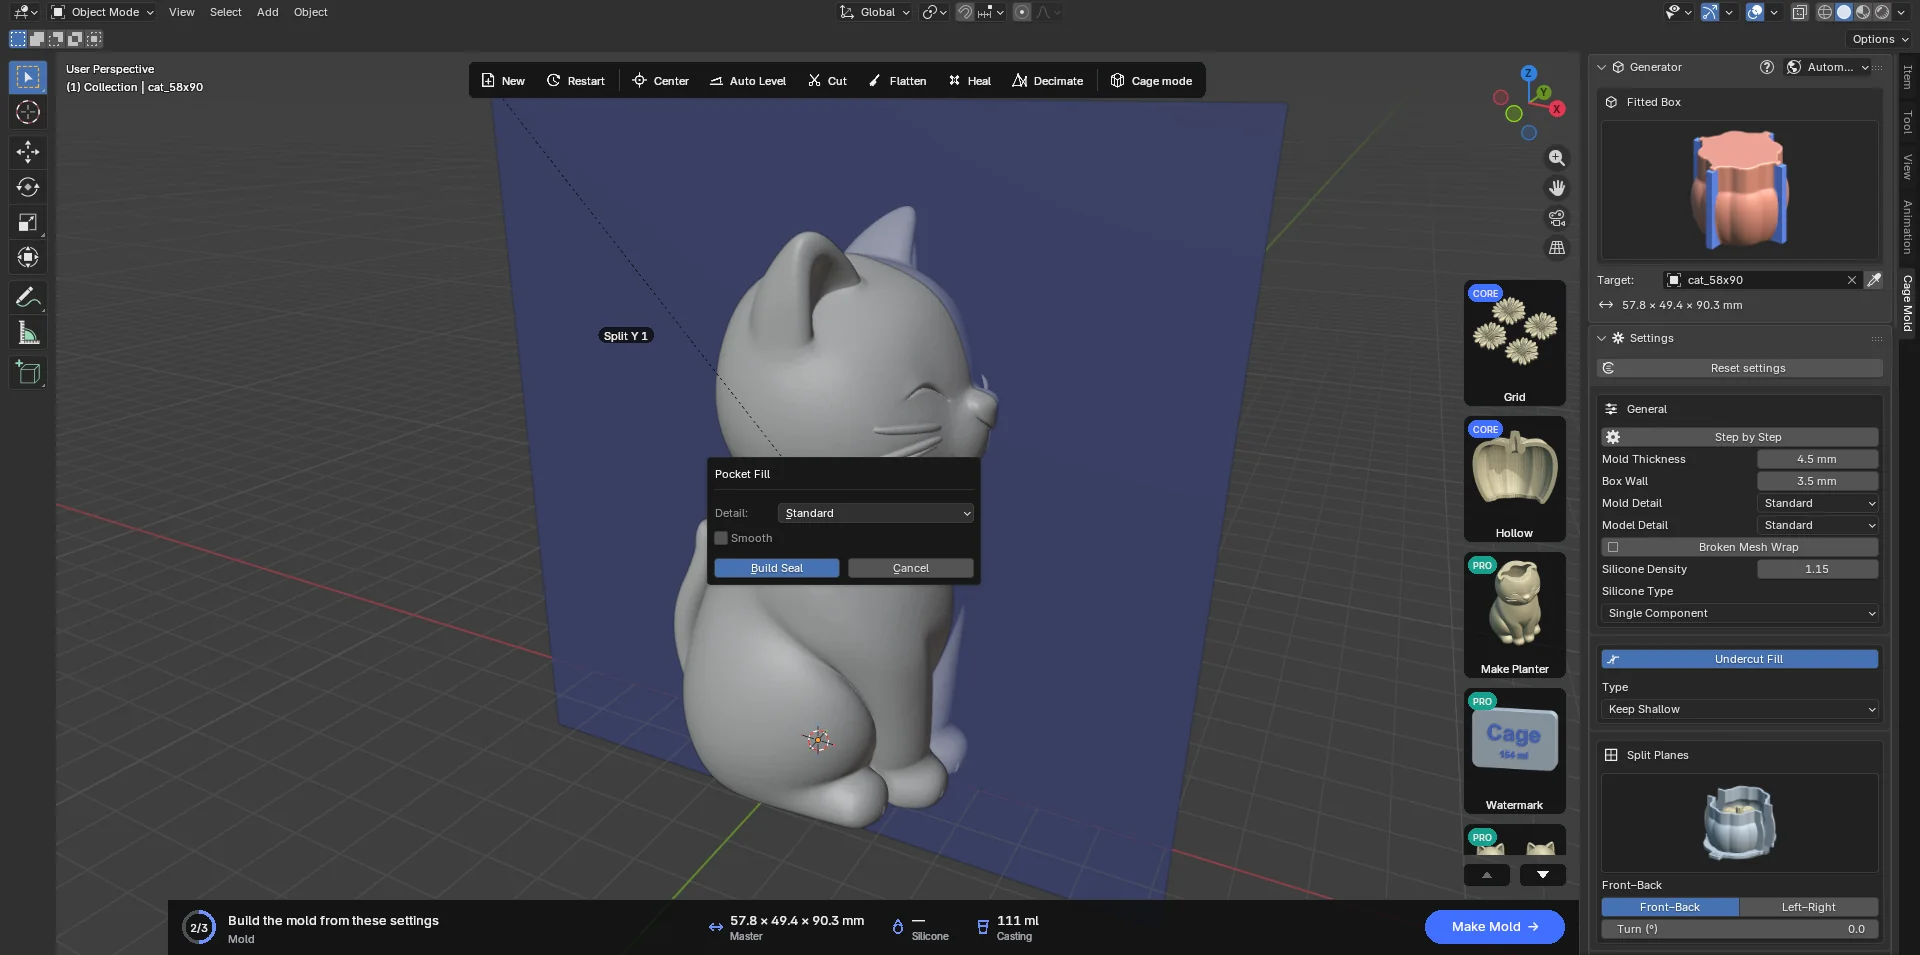
The Pocket Fill dialog. - Review the pieces
The fillers appear beside the model as separate objects coloured by kind. The model is left unselected, so Delete removes fillers only. A long violet filler comes cut into smaller parts, so you can delete one part on its own; neighbouring parts meet face to face and Confirm closes the seam between them. Blue and yellow fillers are never cut. The action card becomes the three-button Check the Pocket Fill pieces bar and shows the selected piece's name and size.
Tight · a narrow crevice Cavity · a hollow reached through a narrow opening, or the thin wall that closes a narrow see-through hole Air · an air pocket: only where the air is really trapped is filled Base · a piece extended to the floor by Extend to Floor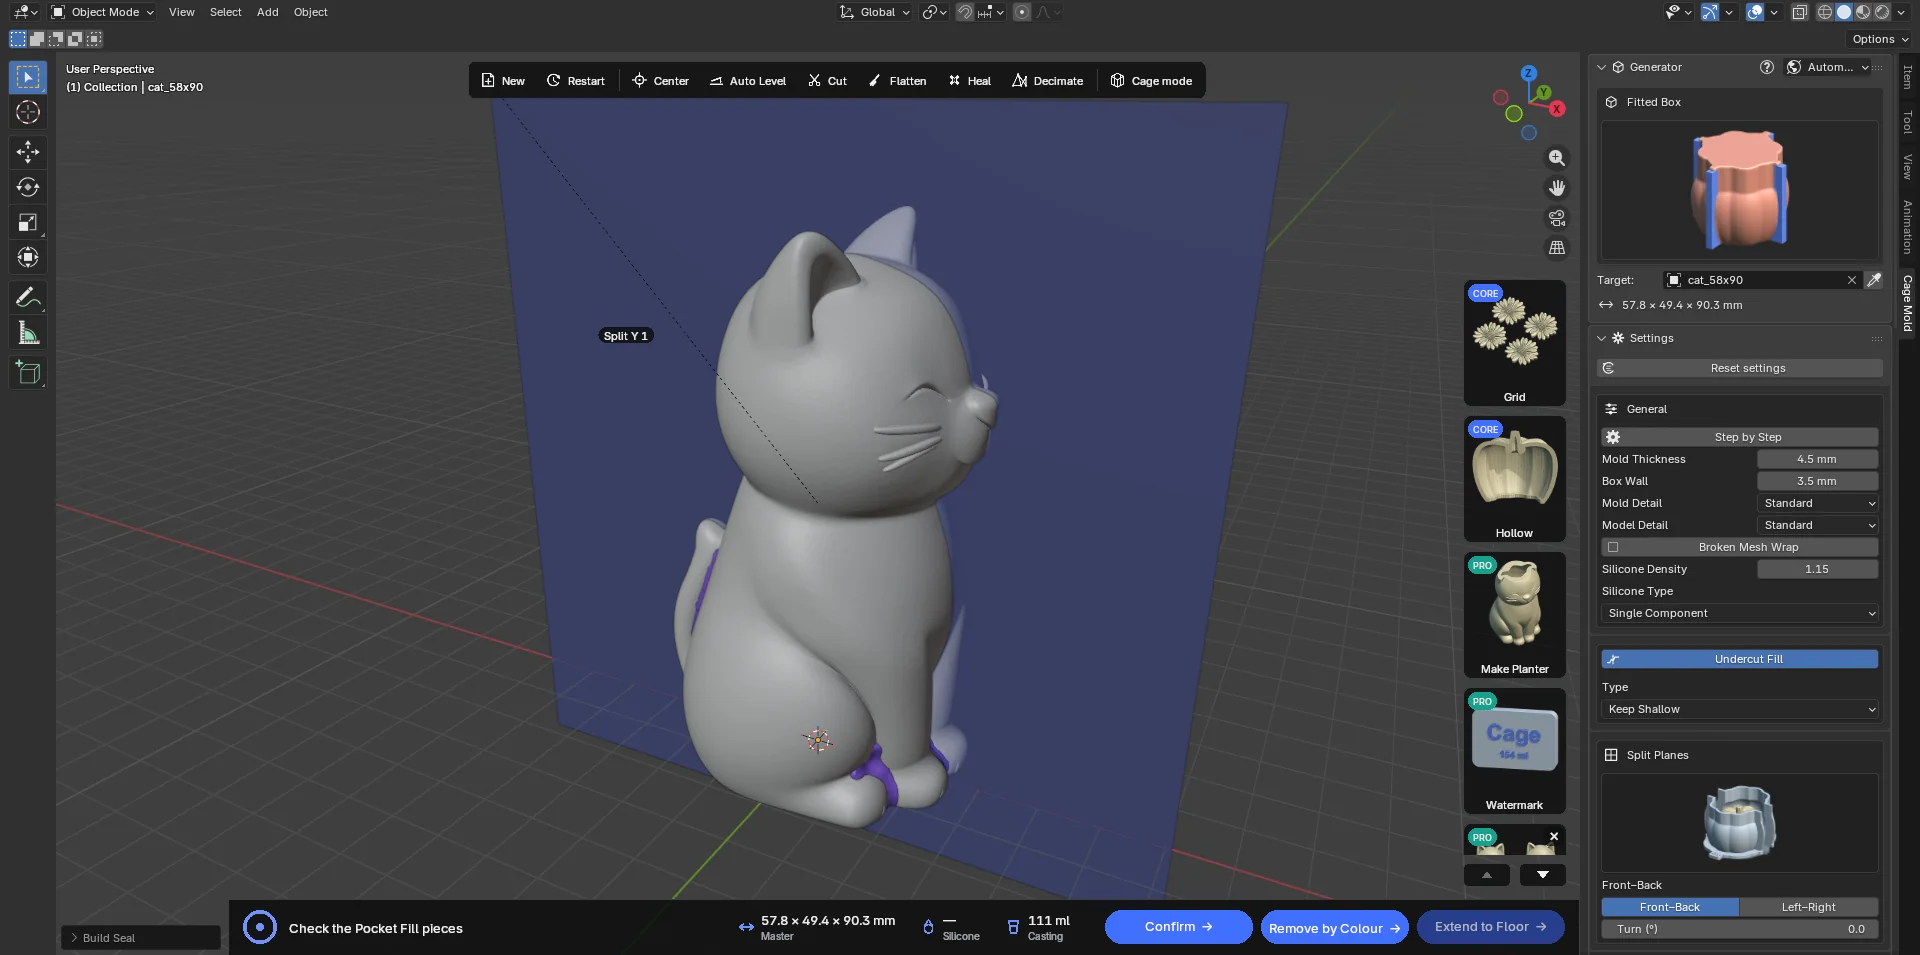
The fillers found on the cat: violet crevice fillers between the legs and beside the tail; no air is trapped on this model, so no yellow filler came. The bar at the bottom carries Confirm, Remove by Colour and Extend to Floor. - Delete what you do not want
One by one: click the piece, X or Delete. A whole colour at once: Remove by Colour asks for the Piece Colour (Violet / Blue / Yellow; Yellow by default) and deletes every piece of that colour ("Removed 5 yellow seal pieces"). A deleted piece means silicone will enter that detail of the model; for a thin crevice, ask yourself whether you want that.
See-through holes. Such a hole is closed by a thin blue wall at its narrowest point; the wall closes the hole on its own, so deleting a violet piece beside it does not open the hole; the wider mouth stays as a shallow pocket open on one side, which silicone fills without passing through. Remove by Colour's Blue removes these walls too; to keep the hole open, delete just that wall. A wide hole, such as a mug's handle, is never closed.
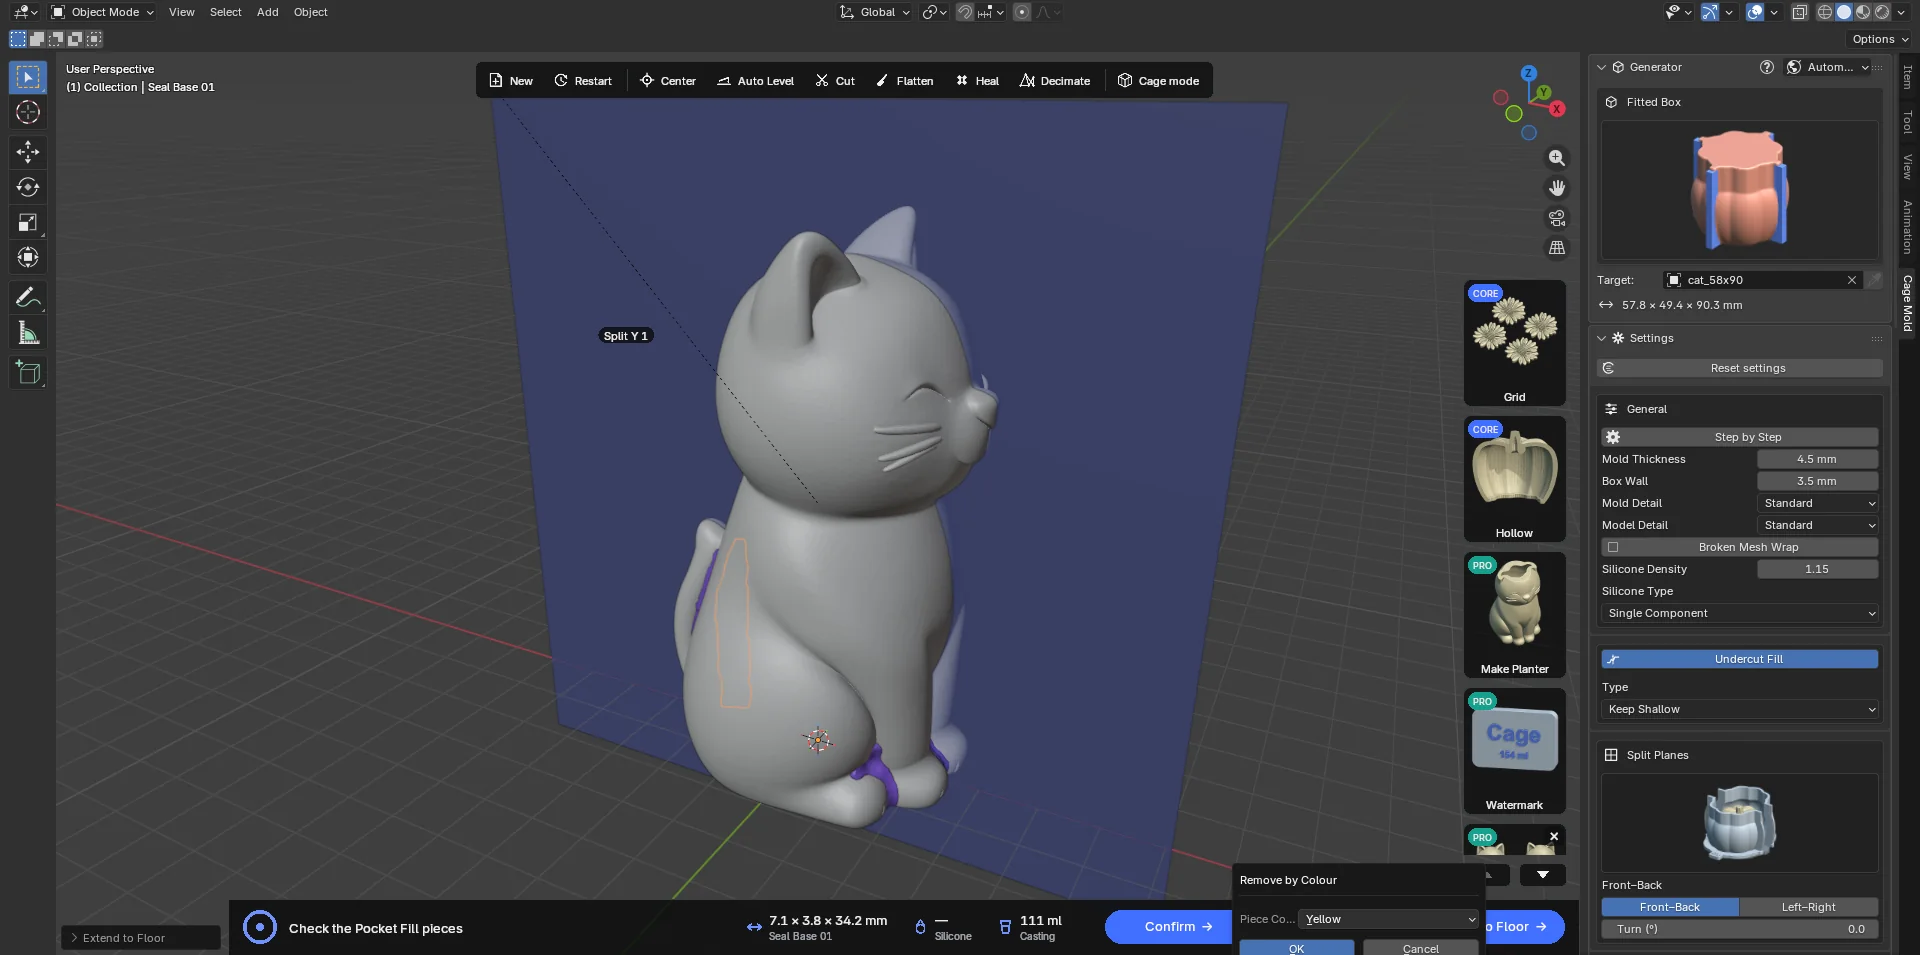
Remove by Colour: all of one colour. - Extend to Floor (optional)
When you do not want silicone to run in under a floating filler (the blue block between the front legs, say), select the piece and press Extend to Floor: it becomes a brown column covering itself and everything below it down to the floor (lowered or raised by Offset). Close Gaps (3 mm) also fills the narrow slits left between the column and the model (up to twice this wide; beside a paw on the floor, say), where silicone would run in otherwise; 0 fills straight down only. The button is enabled only while a piece is selected.
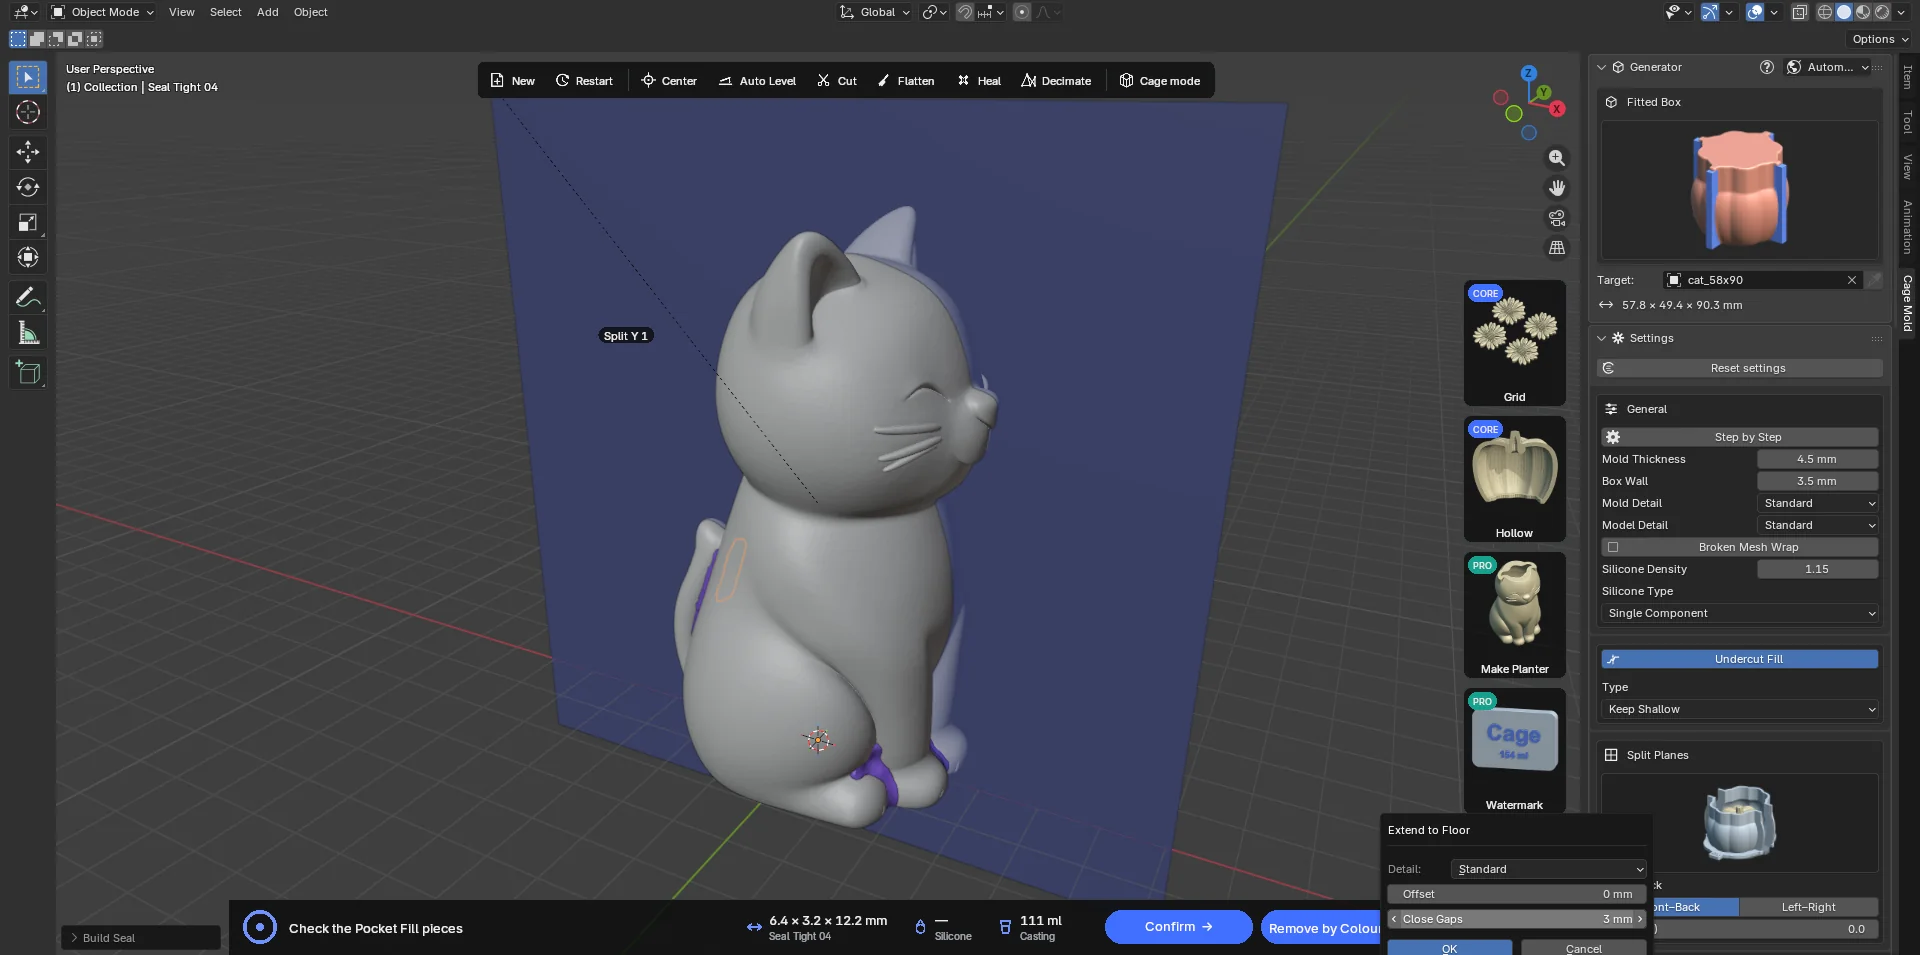
The Extend to Floor dialog: Detail, Offset and Close Gaps. - Confirm
Confirm adds the remaining pieces to the model as one closed solid. The filled areas keep their colours on the model, so you can see what was filled. The model is ready; carry on to the mold. The × on the card (Remove Seal) drops waiting pieces, or brings a confirmed model back to how it was before Confirm.
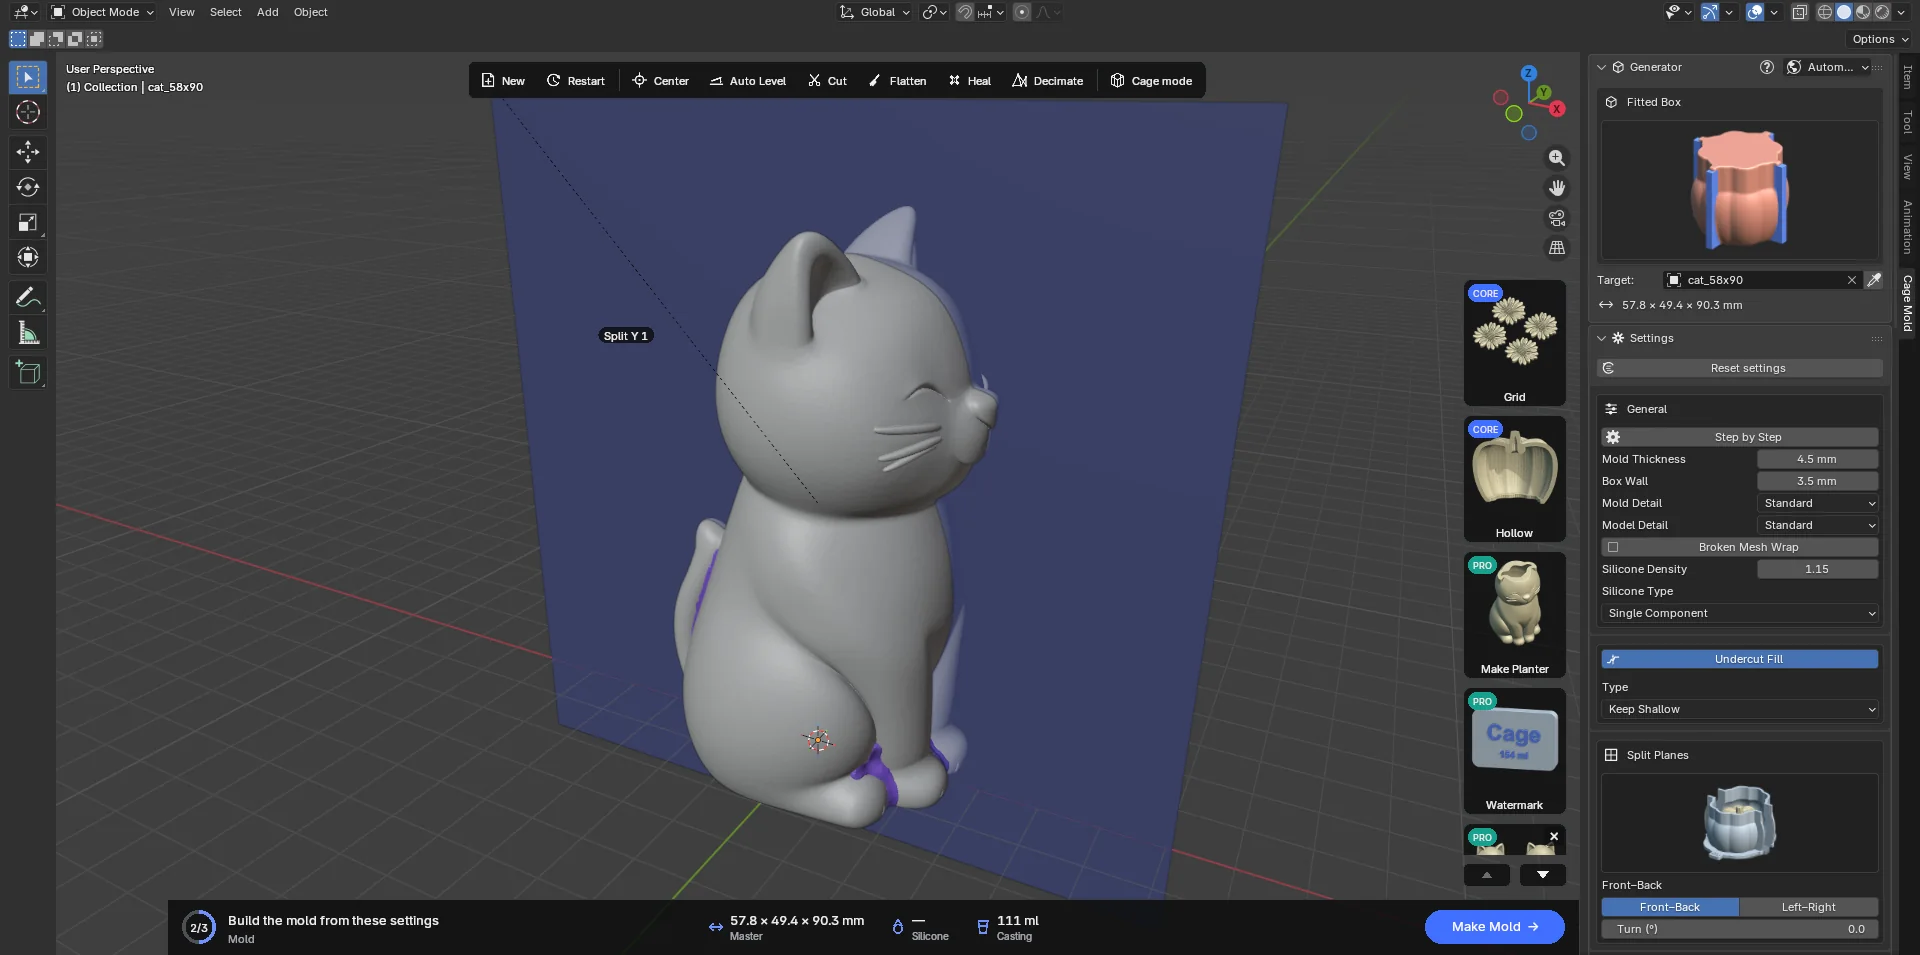
Confirmed: the fillers are part of the model and keep their colours.