Quick start: your first mold
Generate and export the mold of one model with the default settings, as a Fitted Box. What every step does is explained in detail in the following chapters; this is only the route.
- Open a new scene and switch to the tab
Open the Cage Mold program: the scene is empty and the tools are on screen; the rest of this paragraph is not needed. With the extension in Blender: open Blender, File › New › General. Select the cube in the scene and delete it with X (Cage Mold does not take it for the model, but it is in the way). Cage Mold must be installed and signed in (chapter 2). With the mouse over the 3D view press N and choose the Cage Mold tab.
- Import the model
Press New in the strip over the view (or Import → on the action card) and choose your STL, OBJ or 3MF file. The model is centred on X/Y, stood on the floor, framed in the view and written into the Target field. The action card shows the Master size and (on Core and Pro) the Casting volume at once.
If the size is wrong (0.07 or 70000 instead of 70 mm) the file was saved in another unit. A model under 5 mm or over 1 m brings a box in the Generator panel with scale buttons (× 1000, × 25.4, × 10 for a small model; × 0.1, × 0.001 for a large one): press one. For another factor scale it with Blender's S and press Center. - Make sure the model stands level
If the model lies on its side or its bottom is not flat, Auto Level lays its largest flat face on the floor. If it is a broken scan, Heal rebuilds it as a closed surface. For a very dense model (hundreds of thousands of triangles) Decimate speeds everything up.
- Choose the mold type
This example keeps the default Fitted Box. For another type click the picture in the Generator panel and pick a card.
- Enter the thicknesses
In General, Mold Thickness is the least thickness of silicone around the model (4.5 mm by default; 6 to 8 mm is a good start for large or detailed models). Box Wall is the wall of the printed box (3.5 mm). Leave Mold Detail and Model Detail at Standard for a first try.
- Set the split
In Split Planes choose Front–Back (the plane that parts the box front from back; the default), Left–Right or both: one plane splits the box in two, both in four (four parts are in the Core package). Both planes are upright. The blue guide in the view is the split; running through the model's widest place is good. Click the guide and move it with G if needed.
- Make Mold
Press Make Mold → on the action card (or Enter). The card shows the stages and the time: making the walls, filling undercuts, building the mold, making the base plate. How long it takes depends on the model and the detail; you can orbit the view meanwhile. Esc cancels.

The action card while the mold is generated. - Inspect the result
With "Mold done - export the parts" the parts stand in a row: clips on the left, the model copy, the box parts on their base in the middle, the silicone preview on the right. The Silicone figure on the action card now reads the grams of silicone to pour (Core and Pro). Orbit the view (middle mouse) and look at the parts: the seam ears, the base pins, the funnel.
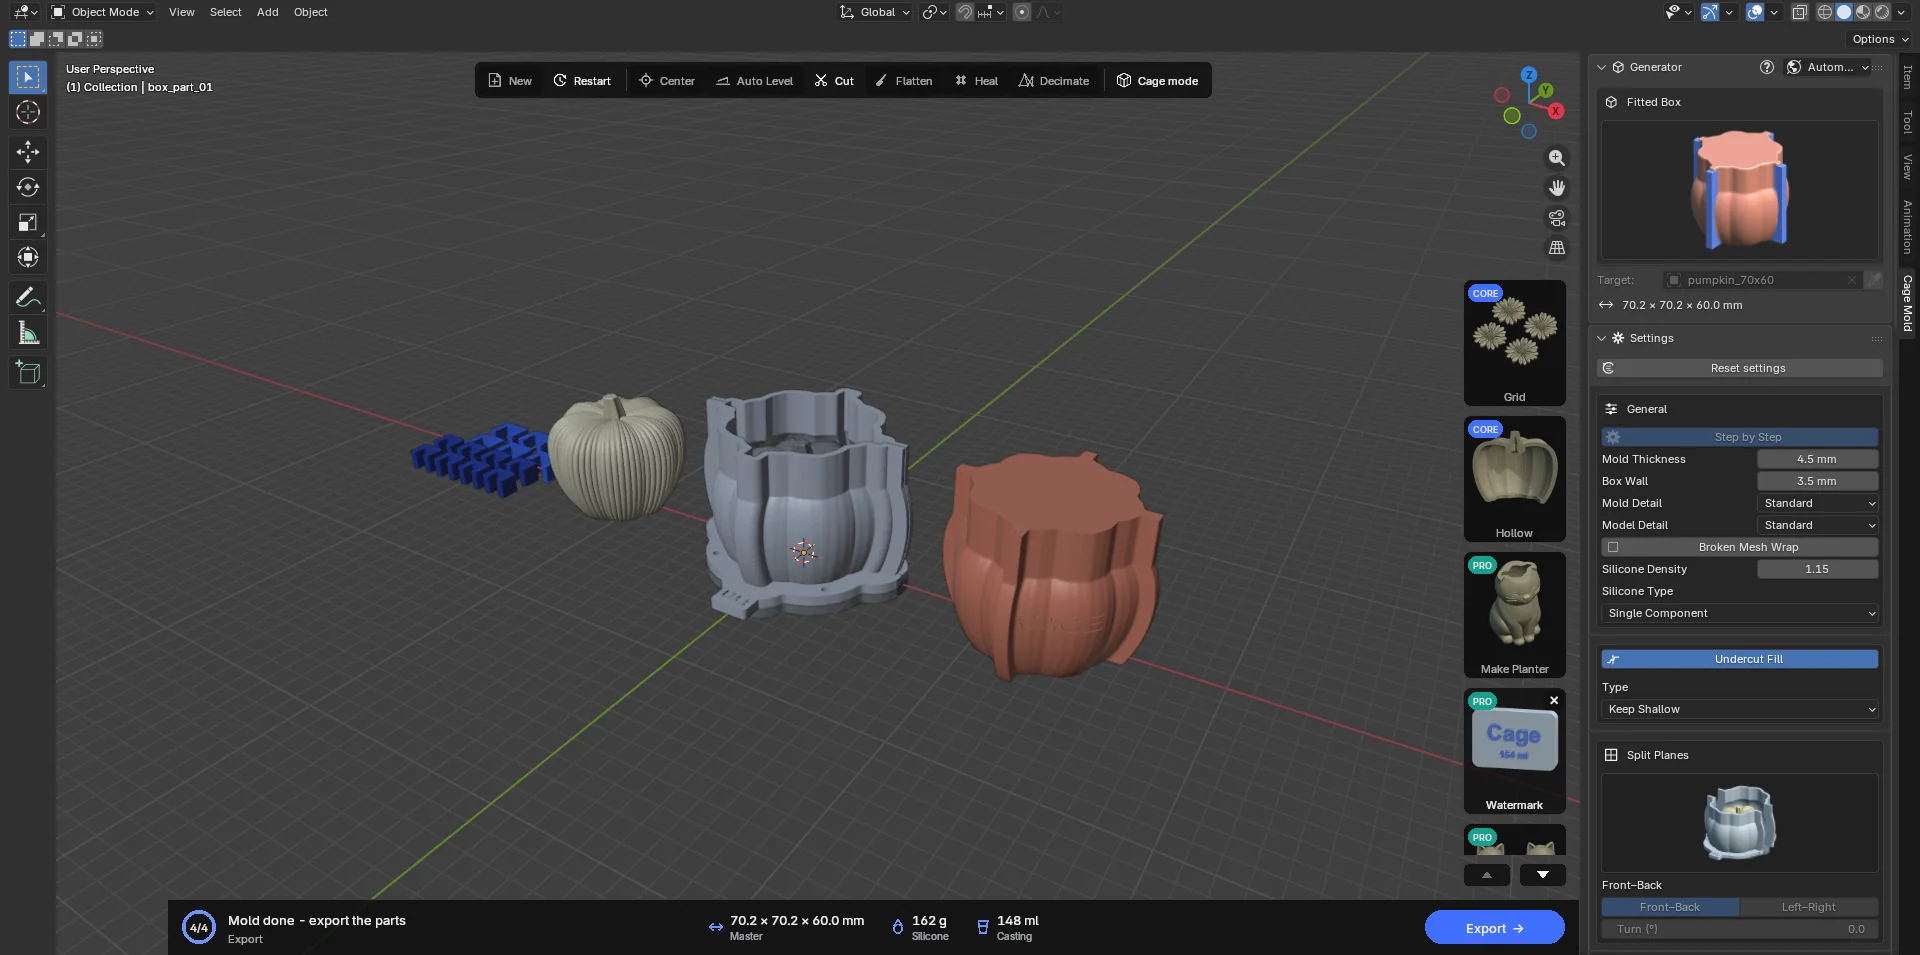
The finished mold: clips, the model copy, the box parts with the base, the silicone preview. If you do not like it, go back to the model with Restart, change a setting and generate again. Every build gives the same result for the same settings; trying is cheap.
- Export
Press Export →, choose a folder and confirm with Export. Every printable part is written as
<model>_<part>.stl(and as.3mfwhen your computer has a 3MF exporter). The silicone preview and the model copy are not printed, so they are not written.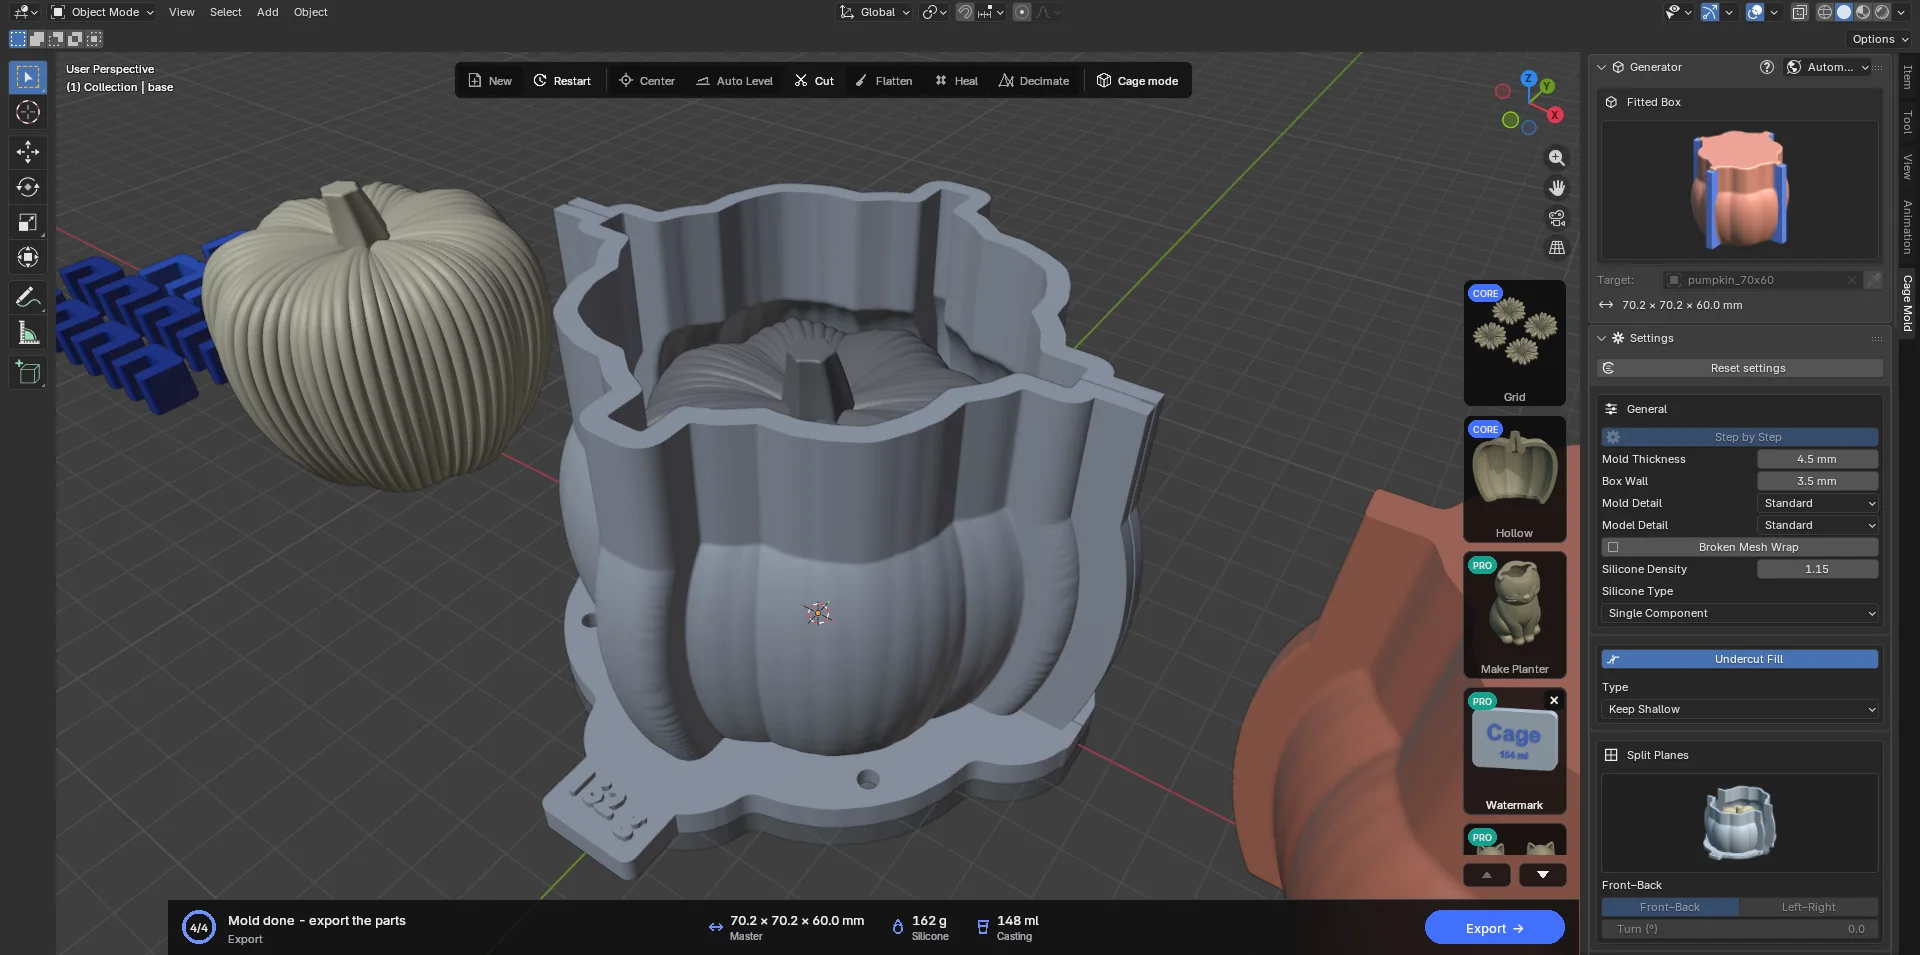
The Export folder browser. - Print, assemble, pour
Load the parts into your slicer and print them (the box parts stand on their feet, the clips lie flat). Put the base on the table, seat the box parts on the base pins, push on the clips. Mix the silicone to the weight on the action card (about 5 % extra; Lite shows no grams, so measure the box with water) and pour it slowly through the funnel. Once cured, take the clips off, pull the box parts away along their own directions and lift the silicone mold off the base. Details in chapter 9.