Preparing the master
A good mold starts with a good model: a closed surface at the right scale, standing level on the floor. The tools in the strip handle these with one click each.
How the model is chosen
- Importing: New in the strip (Import master… in the ≡ menu in Cage mode) opens STL, OBJ and 3MF files. A file with several pieces brings all of them in; the active one becomes the model, and the status bar says "(3 mesh objects imported)".
- A model that lands in the scene: while Cage Mold's tab is open, every new mesh dropped into Blender or imported through Blender's own File › Import becomes the model, is centred and framed in the view. Shapes from Blender's Add menu (a cube, a sphere…) are not taken for the model. Models that arrive while the tab is closed stay where they are; choose them with the Target field. Delete the model and Target empties; if the model it replaced is still in the scene, that one becomes the model again.
- The Target field: pick an object from the list in the Generator panel, or click the object in the view and press the eyedropper button beside the field. Generated parts (box, base and so on) cannot be chosen as the model. The model is chosen before the mold: after Make Draft the field is greyed; Restart for another model.
The model is always read in millimetres. The size in the Generator panel and on the action card must match your real model; if it does not, use the scale buttons in the Generator panel (they appear for a model under 5 mm or over 1 m), fix the unit when exporting the file, or scale it in Blender and press Center. A mirrored model or one saved inside out is molded the right way round too. 3MF files from Bambu Studio or Orca Slicer open as well.
The preparation tools
All of them stand in the strip and Ctrl+Z undoes them. Center, Auto Level, Heal and Decimate change the model itself and run only before a mold exists (the READY stage); Cut works on the selected mesh objects at any time; Flatten straightens the silicone's top, not the model, and works in READY and in the draft stage. What a tool did is written in the status bar ("Healed cat at 0.50 mm (84,120 triangles)").
| Tool | What it does | When to use it |
|---|---|---|
 Center | Centres the model on X and Y and brings its lowest point down to Z = 0 (the floor). Scale and rotation are applied for good. | Done automatically on import. Press it again after moving or scaling the model by hand. |
 Auto Level | Finds the model's largest connected flat face, turns the model so that face is at the bottom and centres it. The face must be large enough; a cone or cylinder woven from thin facets does not count as flat. | A model lying on its side, a scan whose bottom came slightly tilted, files from Y-up programs such as Fusion. |
 Cut | Enter a Height in the popover, choose Top or Bottom and press Cut under them: that many millimetres come off the model's top or bottom and the cut is closed flat. Choosing a side cuts nothing by itself. It applies to every selected mesh object. | A damaged top, an unwanted pedestal, getting a flat bottom. |
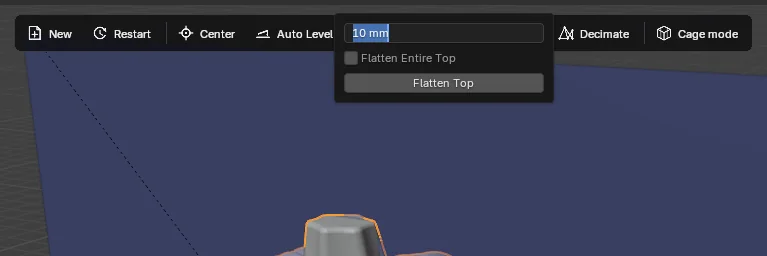
 Flatten | Straightens the silicone's top, not the model: it switches the Top section to Flatten and makes the upper Height mm a straight column; Flatten Entire Top takes a column that covers everything above the floor. In the draft stage it applies at once. | When you want a flat, open top instead of the funnel (Cored Mold always does). Details in 7.1 Top. Not used on a tray or a Two-Part Mold. |
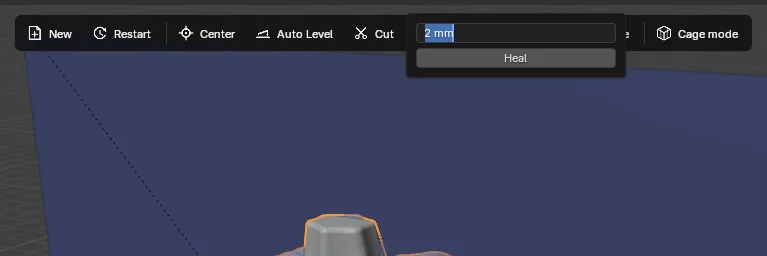
 Heal | Rebuilds the model as a closed solid: closes holes up to Gap wide (2 mm by default), cleans self-intersecting and interior faces and drops tiny loose crumbs (real separate bodies, a loose eye or a second figure, stay); crevices narrower than the gap fill too. | When the status bar says "not a closed solid", when the box comes out strange, on scanned or badly repaired STLs. A sound model does not need it. |
 Decimate | Reduces the model to at most Triangles triangles (50,000 by default); the shape is kept. Works on closed (manifold) models only. | Scans with hundreds of thousands of triangles: the build gets faster and the mold looks the same. Nothing is lost, since the mold reads the surface at the Model Detail tolerance anyway. |
 Restart | Removes every generated object (box, base, preview, watermarks), selects the model again and returns to the READY stage. The settings stay. | When you do not like the mold and want to change a setting; when a build was left half done. |
 Reset settings | The button at the top of the sidebar: restores every setting to its default. The mold type and the model do not change. | For a clean start after the settings got tangled. |
A checklist for a good model
- A closed surface. No holes, flipped faces or nested surfaces. If unsure, pressing Heal does no harm; only know that crevices narrower than 2 mm fill (you can lower the Gap).
- The right scale. The size must be the real size in mm.
- Standing level on the floor. The model's bottom is welded into the base plate (Fixed). On a model without a flat bottom Cage Mold sinks it into the base as it is; that works, but a flat-bottomed model prints cleaner.
- Reasonable detail. 50 to 150 thousand triangles is plenty. How closely the mold follows the surface is set separately with Model Detail.
- Narrow crevices and enclosed hollows the silicone should not enter (between a dog's legs, behind an ear) are what Pocket Fill is for.
- If the model must not change: nothing but Heal, Decimate and Cut changes it. The mold takes an exact copy of the model (to the Model Detail tolerance).