Overview
What Cage Mold does, how the workflow runs, which mold types and packages exist, when it goes online and what you end up with.
What it does
Cage Mold takes over the laborious part of silicone mold making: it designs a 3D-printable box system that leaves the required thickness of silicone around the model, fills the undercuts, splits into parts and comes off so the model releases easily. You only bring the model in, choose a few settings and press Make Mold. For ceramicists the same extension also designs a plaster mold poured with printed parts (Slip Cast). For desktop plastic injection machines it designs a rigid two-half injection mold printed in a heat-resistant material (Injection Mold).
You get three things: the box parts to print (walls, base plate, clips and an optional casting box), a preview of the silicone to pour (with its volume and weight) and one STL/3MF export of every part in one click. Print the box, seat the model on the base, pour the silicone; once cured, take the box apart and lift the silicone mold out.
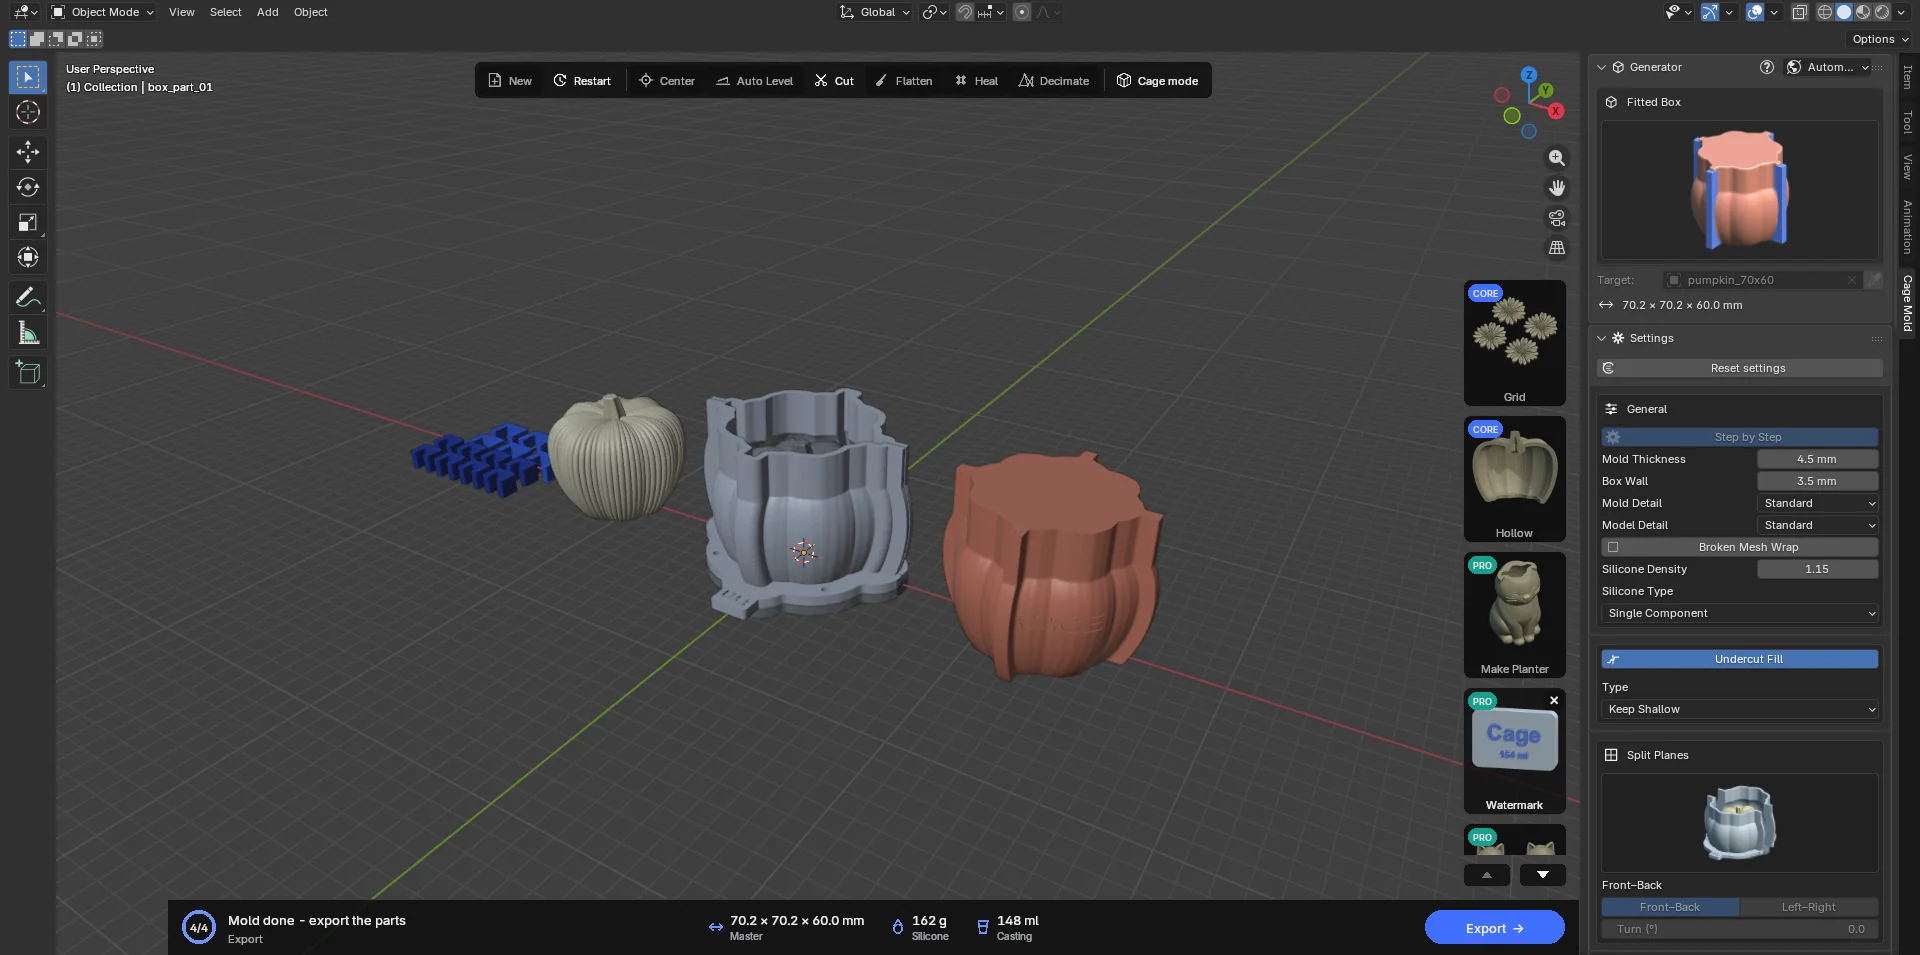
The extension runs in Blender but does not require you to know Blender. With its own sidebar tab, a tool strip over the viewport, tool cards on the right and an action card at the bottom it works like a program of its own. If you prefer, Cage mode hides all of Blender's menus and leaves only these tools. The interface also speaks Turkish: pick it from the globe in the Generator panel's header (chapter 2). The screenshots in this manual show the English interface; in Turkish the same buttons stand in the same places.
The workflow has four stages
- Prepare
Import the model (STL, OBJ or 3MF). Cage Mold centres it, stands it on the floor and frames it in the view. If needed, fix it with Auto Level, Heal, Decimate or the tool cards (Grid, Hollow, Pocket Fill…).
- Set up
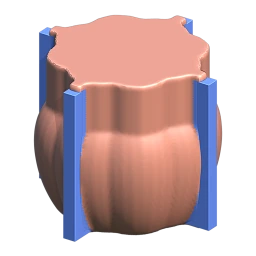
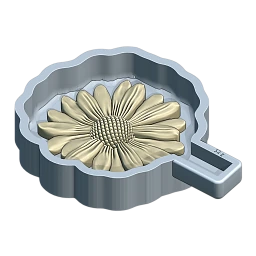
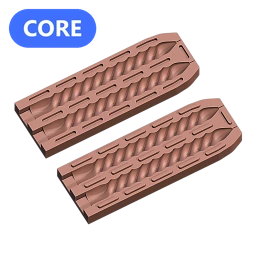
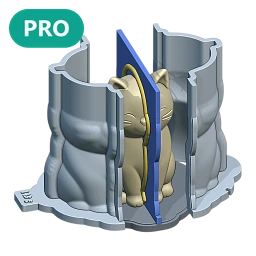
Choose the mold type (Fitted Box, Tray, Two-Part Mold, Multi-Part, Cored Mold, Slip Cast, Injection Mold), enter the silicone and wall thickness, place the split plane, pick the base, clamp and casting box options.
- Make
Make Mold produces the finished mold in one step. With Step by Step (Core package) on, an editable draft comes first (Make Draft), then Confirm builds the parts at full detail. Blender stays responsive meanwhile; Esc cancels.
- Export, print, pour
Export writes every printable part into the folder you choose as STL (and 3MF where possible). Print the parts, assemble them, mix the amount of silicone the action card shows and pour.
Mold types
You pick the type by clicking the picture in the Generator panel. Each type has its own section in chapter 7. The CORE and PRO badges in a picture's corner say which package holds that type; a type without a badge is in every package.
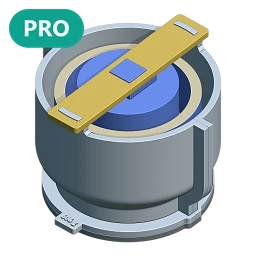
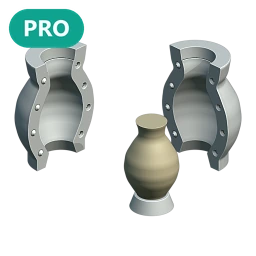
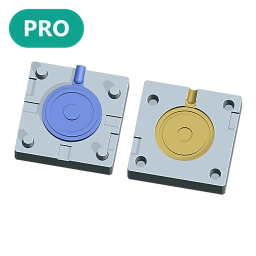
Packages
Cage Mold comes in three packages: Lite, Core and Pro. You pay once; the package is yours for good with every update, and one licence works on two computers. An upgrade costs the difference, any time. The current prices are on cagemold.com/pricing.
Inside the extension, what a package does not include shows as locked: CORE / PRO badges on the pictures and tool cards, and in the sidebar a lock box with an Upgrade your package button. A mold type or setting outside your package builds no mold; the badges show it beforehand.
| Lite | Core | Pro | |
|---|---|---|---|
| Fitted Box and Tray with every thickness, channel, lock and base setting | ✓ | ✓ | ✓ |
| Model preparation tools: Center, Auto Level, Cut, Flatten, Heal, Decimate; Cage mode | ✓ | ✓ | ✓ |
| Make Mold in one step at Quick or Standard detail; print-ready STL | ✓ | ✓ | ✓ |
| Split Planes: a four-part box, a turned split | – | ✓ | ✓ |
| Silicone and casting figures: grams, A/B shares, the weight label, Casting Volume | – | ✓ | ✓ |
| Step by Step: Make Draft, editing the draft, Confirm | – | ✓ | ✓ |
| Fine detail: Fine, Finer, Finest, Original | – | ✓ | ✓ |
| Two-Part Mold · Hollow · Grid | – | ✓ | ✓ |
| Multi-Part · Cored Mold · Slip Cast · Injection Mold | – | – | ✓ |
| Casting Box · Pocket Fill · Watermark · Make Planter | – | – | ✓ |
When does it go online?
Your models never leave your computer: every mold is built on it, by Cage Mold's mold engine. Cage Mold goes online only to sign in, to renew the licence (a bought licence renews daily, silently; without a connection it keeps working for 14 days), to download the engine of its own version, to look for a new version, when you ask, to send a support request and, while you are signed in, to look for support answers (20 seconds after Blender starts, then every half hour). All of these need Blender's Allow Online Access to be on.
The 7-day trial is different here: during the trial the extension checks the licence with cagemold.com for every mold. So a trial does not work without the internet (chapter 2).
What you end up with
When Confirm or Make Mold finishes, the parts stand side by side in the scene, spaced apart. All of them live in the collection named Cage Mold and are coloured by role:
- Box parts (
box_part_01,box_part_02…): printed. Each pulls away from the silicone along its own direction. - Base (
base): printed. By default the model copy is welded into it and the two print as one piece. - Base clips and seam clips (
base_clips,seam_clips): printed; they press the feet to the base and the seams together. - Casting box (
casting_part_01…, optional, Pro): printed; it wraps the cured silicone mold while you cast in it. - Silicone preview (
silicone_preview): not printed. It shows the shape, volume and weight of the silicone to pour. - Model copy (
Master): not printed (with Unfixed and Model Pins, the keyed copy with its sockets is printed).
Slip Cast's parts differ: a preview of the plaster pieces, the printed model plate, the case and its clips (7.6). Injection Mold's printed parts are its two rigid halves (injection_half_a, injection_half_b); the shot and cavity models are for checking only (7.7).
Glossary
- Master
- The model to make the mold of. Cage Mold wraps it without changing it; the preparation tools fix it only when you ask.
- Silicone / Mold
- The rubber poured into the box that becomes the mold once cured. The grams of the action card's Silicone figure are this.
- Box (mother mold)
- The printed shell that holds the silicone while it is poured and comes apart afterwards.
- Base
- The plate the box parts stand on. The model is welded into it (Fixed) or sits on pins (Unfixed, Model Pins).
- Split plane
- The vertical plane that divides the box into parts. It stands in the view as a blue square and can be moved.
- Channel plate
- A support plate inside the silicone that gives the box its seam ears (Straight or Adjusted).
- Funnel
- The pour opening rising straight from the upper part of the model. Flatten gives a flat top instead.
- Undercut
- A recess that would stop a box part from pulling off along its direction. Deep ones are filled with silicone, shallow ones flex over.
- Clips
- Printed U parts that press the seam ears together (Seam Clips) and the feet onto the base (Base Clips).
- Casting box
- A second, thinner shell that wraps the cured silicone mold while you cast, so it keeps its shape.
- Casting
- The volume of the material you will pour into the mold (wax, concrete, resin): the model's own volume.
- Mold engine
- The program that computes the geometry; it does not ship with the extension but downloads by itself after sign-in. It is bound to your licence; a copy given to someone else does nothing.
- Licence / computer
- One licence opens on two computers (the 7-day trial on one). When you change computers, remove the old one on My account.