Export and printing
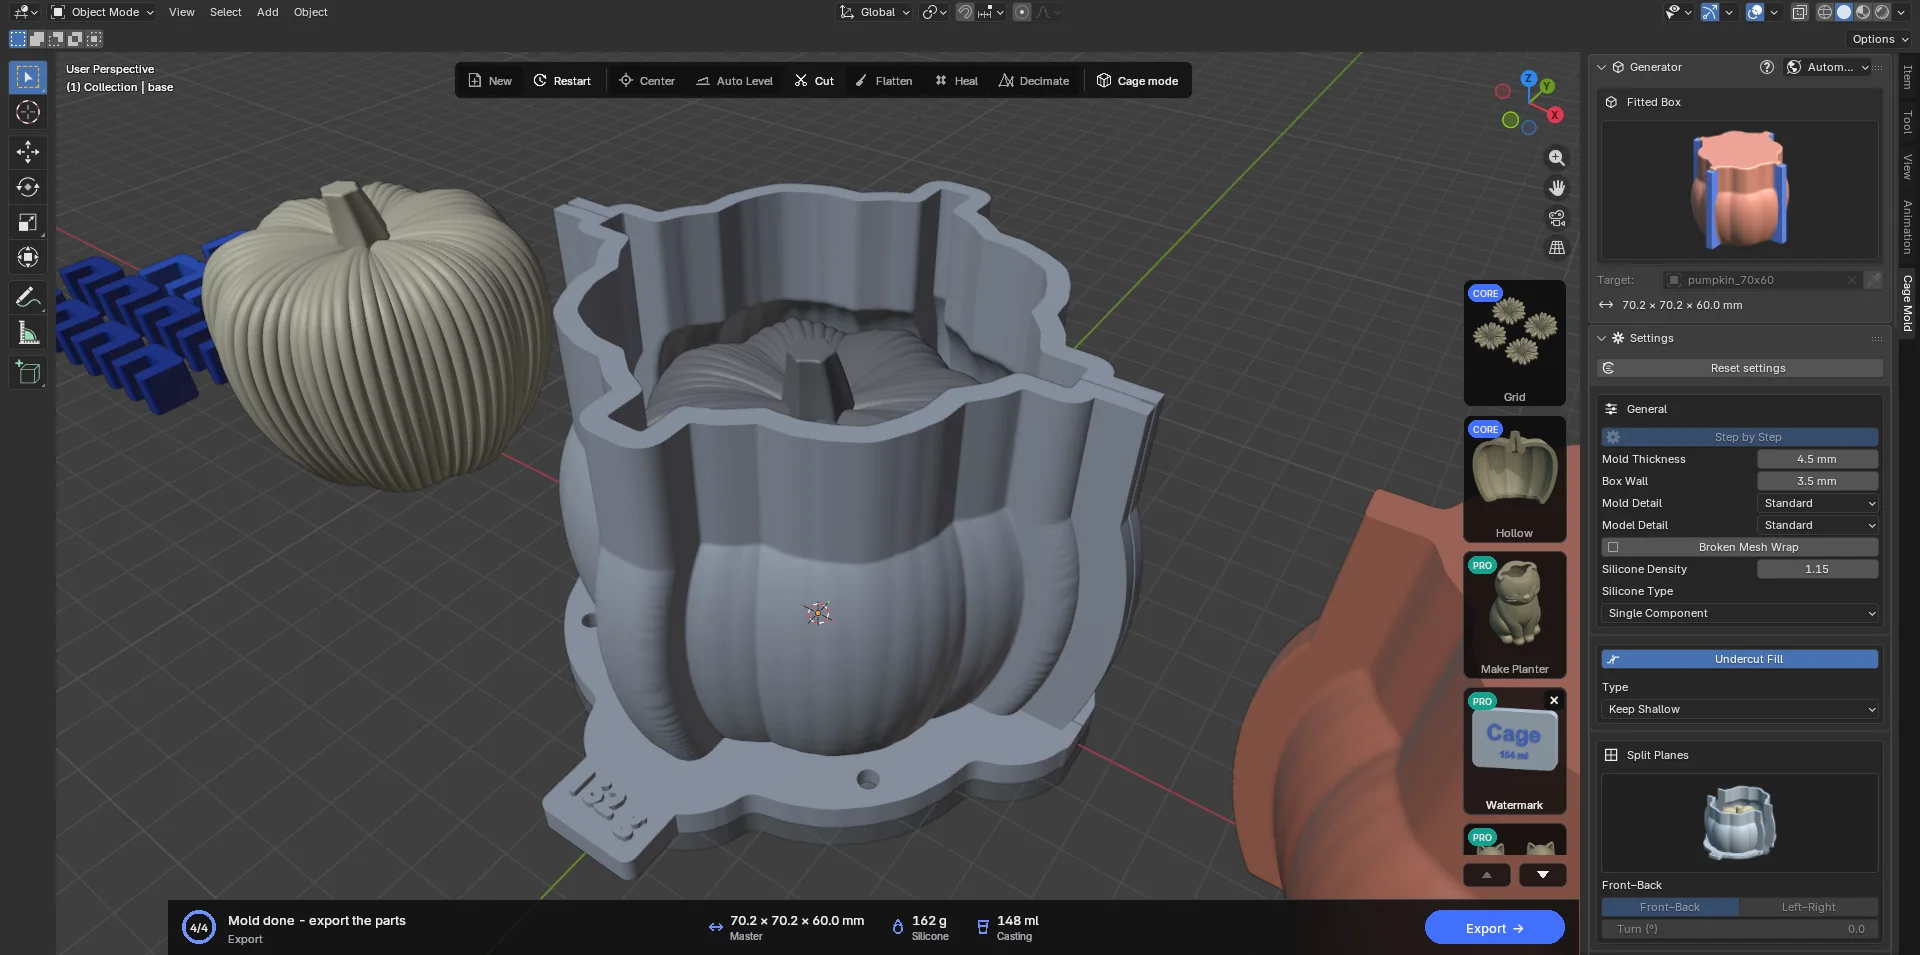
Once the mold is finished, Export writes every printable part to a file. This chapter covers the files, the print orientations and the tolerances.
The files
- Export → on the action card (or Enter) opens a folder browser; a saved scene suggests the folder beside it. Choose the folder and press Export.
- Every part is written as
<model name>_<object name>.stl:pumpkin_box_part_01.stl,pumpkin_base.stl,pumpkin_base_clips.stl,pumpkin_seam_clips.stl,pumpkin_casting_part_01.stl… - The STL files are binary, in millimetres and world coordinates; no unit to pick in the slicer. When your computer has a 3MF exporter,
.3mffiles of the same names are written too. - Written: box parts, base / model plate, base and seam clips, casting box, core and bar, lids, the keyed model copy with Unfixed. Not written: the silicone preview and the model copy (Fixed).
- Every Export also saves the mold sheet,
<model>_mold_sheet.pdf: one A4 page with pictures of the mold, the parts to print and the steps. Edge or Chrome on your computer prints it a few seconds after Export; without one, the sheet stays as<model>_mold_sheet.html, which any browser opens and prints (below). - On Slip Cast the plaster pieces and the cavity's model go into a
referencefolder and the casting sheet is written as<model>_casting_sheet.pdf(7.6). - On Injection Mold the printed parts are
injection_half_aandinjection_half_b; the shot and the cavity go into thereferencefolder (7.7). - The status bar says how many files were written ("Exported 5 STL and 5 3MF files to …").
The mold sheet
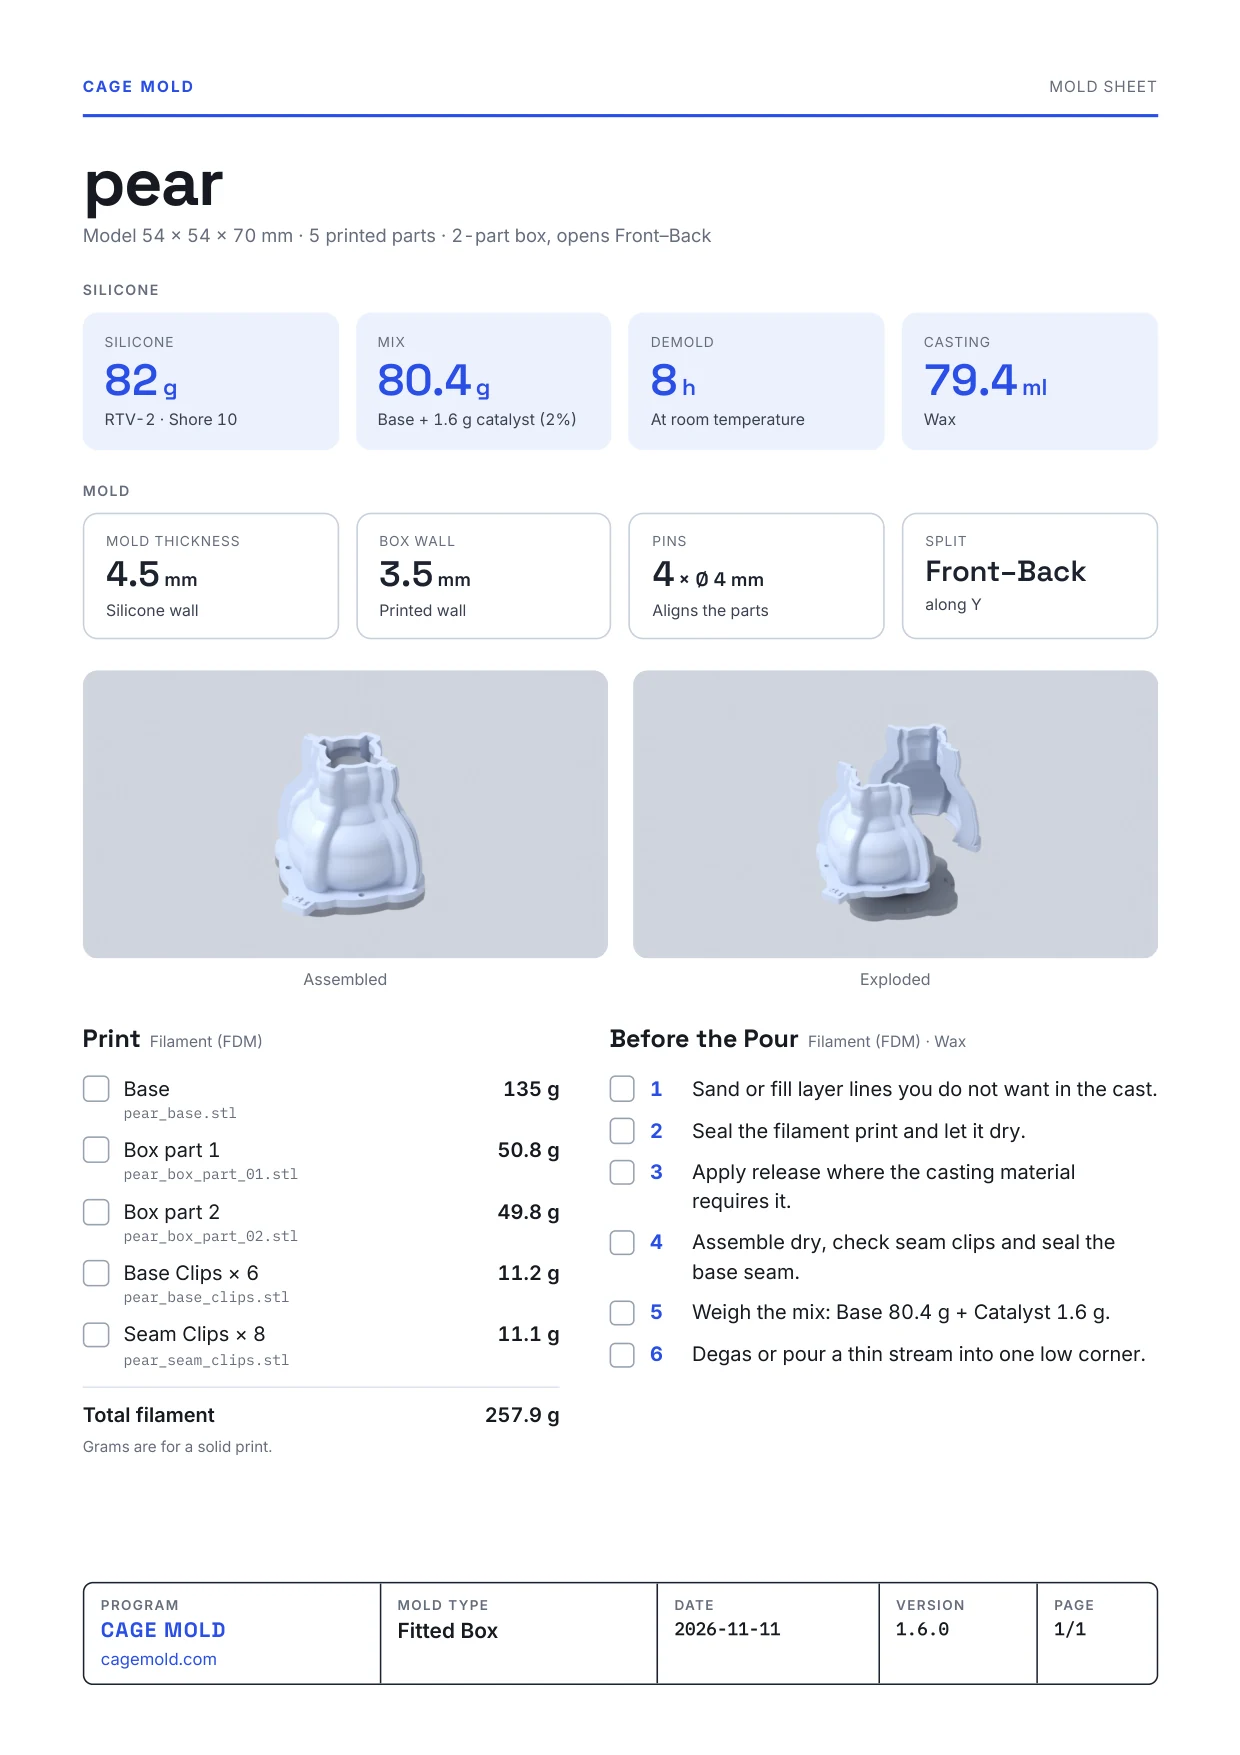
Every Export also saves the mold's one-page A4 sheet beside the files: <model>_mold_sheet.pdf. It is written for every mold type, in Cage Mold's language; print it and keep it at hand while you print and cast. From top to bottom:
- The title: the model's name and size, how many parts to print and how the mold opens ("2-part box, opens Front–Back").
- Silicone: the silicone's grams and its recipe ("RTV-2 · Shore 10"), the mix (silicone and catalyst, or A and B), the demold time and the casting material's volume. On Slip Cast the plaster, water and slip; on Injection Mold the shot's volume and weight. These figures are in Core and Pro; on Lite they read "Available in CORE".
- Mold: at most four of the mold's settings: Mold Thickness, Box Wall, pins, the split, screws, clips.
- Two pictures: the mold assembled and exploded.
- Print: every part to print with its file name and its filament grams as a solid print, and a box to tick; the total filament under them. A part that fits the Print Bed of the preferences no way round turns red with "Turn or cut it". Reference files, not to be printed, are listed apart. With prices entered, the costs are here too (chapter 8).
- Before the Pour: the steps for the print method and casting material chosen in the Before the Pour window (chapter 13); the mixing step gives the amounts to weigh.
- The bottom strip: Cage Mold and cagemold.com, the mold type, the date, the version and the page.
The sheet is written as HTML first. A few seconds after Export, Edge or Chrome on your computer turns it into a PDF in the background and the HTML file is removed; then a popup says "Mold sheet saved as PDF." Your open browser windows and settings are not used. Without Edge or Chrome, or when printing takes over a minute, the sheet stays as <model>_mold_sheet.html and the popup says so; open it in any browser and print it from there. On a Mac, Chromium and Brave are used too.
Slip Cast's casting sheet (<model>_casting_sheet.pdf, 7.6) becomes a PDF the same way; it can run to more than one page.
Printing
The parts are designed to print in the orientation they are exported in; there is no need to turn them in the slicer.
- Box parts stand on their feet; the seam ears and feet print flat. The lock ribs (Barrier / Pin) are sunk into the half and need no support.
- The base / model plate lies flat with the welded model standing on it. If the model has overhangs, use the slicer's support (it touches only the model's own surface, never a mold surface).
- Base clips and seam clips print lying flat; Height is their thickness on the bed.
- Multi-Part split walls stand with the model plate; the undersides of the round keys are short bridges and need no support.
- Two-Part cage trays print standing on their pour end, as exported; the rings and claws stand on one end.
- The core (Cored Mold) stands on its bottom face; a low infill is fine.
The tolerance settings (0.25 mm for pins, locks and clips; 0.02 mm for Model Pins; 0.5 mm for Two-Part keys) suit a well-tuned FDM printer. If parts go together too tightly, raise the relevant Tolerance and Regenerate (clips only) or generate again. For a leak-tight box print with thin layers (0.2 mm) and at least two walls; the inside of the box transfers to the silicone, so the finer the layer lines the cleaner the cast.