Why a printed box?
The usual way is to glue the model into a cardboard or Lego box and fill it with silicone. It is easy, but the box knows nothing of the model's shape: silicone piles up in the corners and the mold gets heavy and expensive. Silicone is the costly material; the closer the box follows the model, the less you spend.
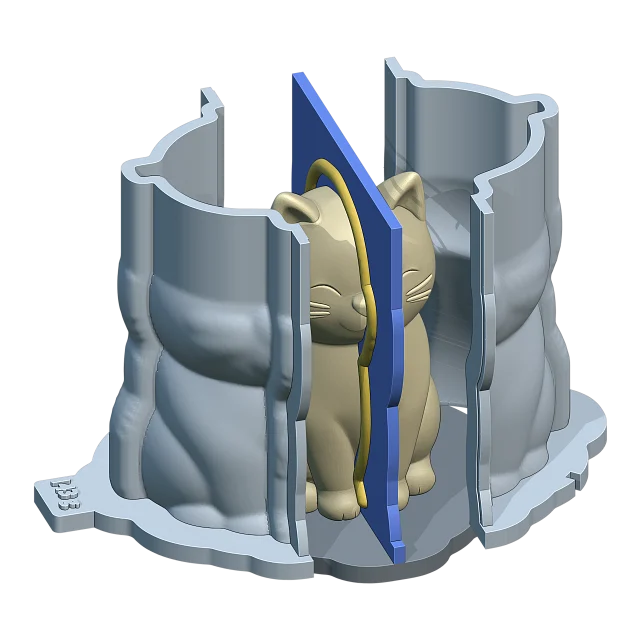
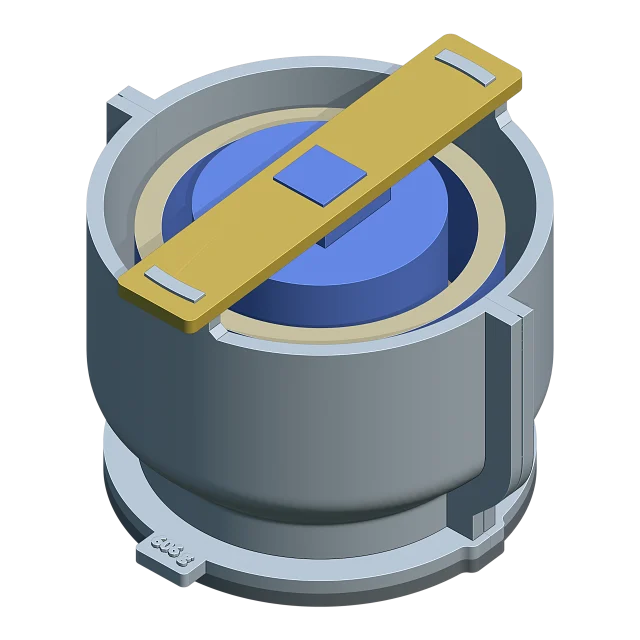
A printed box follows the model at a set distance. The silicone is equally thick everywhere, the box splits into parts that come off, and the same file prints a new box any time.
1. Prepare the model
A mold copies everything on the model's surface: layer lines, sanding marks, fingerprints. If the model is a 3D print, print it with fine layers (0.1-0.12 mm) or sand and prime it.
- The model must be a closed solid, with no holes or open edges. Repair a broken scan first.
- Check its size in millimetres. If a 70 mm model reads 0.07 or 70000, the file was saved in another unit.
- Give it a flat face to stand on. The silicone does not reach under it, so the pour goes in from the top, through a funnel.
In Cage Mold: an imported model is centred and stood on the floor. A wrong size brings buttons such as ×1000 and ×25.4; Auto Level lays the largest flat face on the floor, Heal turns a broken scan into a closed surface.
2. Choose the silicone thickness
The thinner the silicone around the model, the less you use, but the easier the mold tears and bulges while you cast. For small, plain models 4-5 mm is enough; for large or very detailed ones start at 6-8 mm.
For the box's wall (the printed plastic), 3-4 mm is leak-tight and stiff enough on most printers.
In Cage Mold: Mold Thickness is the least silicone around the model (4.5 mm by default), Box Wall Thickness is the box's wall (3.5 mm).
3. Decide where the box splits
A one-piece box will not come off the cured silicone. Split it with an upright plane into two (or four) parts, each pulled away along its own direction. Running the plane through the model's widest place is a good start.
Undercuts, recesses that stop a part from pulling off, are the main problem. Shallow ones are fine because the silicone flexes; deep ones must be filled on the box's side, or the box locks onto the silicone.
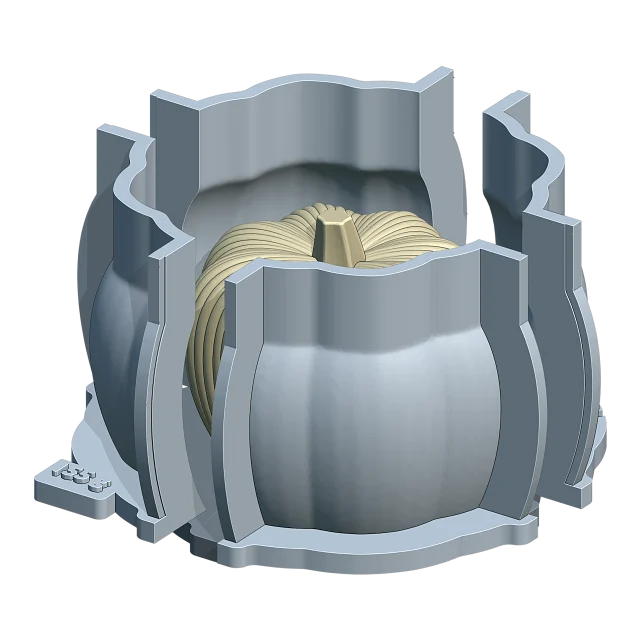
In Cage Mold: Split Planes picks Front–Back, Left–Right or both; you move the blue guide over the model. Undercuts up to 1 mm are kept, deeper ones are filled for you.
4. Add the seams, the locks and the funnel
So the parts do not shift and the silicone does not leak out of the seams, the box's seams are pressed together by ears. Clips or screws hold the ears; the parts sit on pins in the base.
The silicone goes in from the top. A funnel rising from the model's upper part makes pouring easier and leaves the air a way out. Without a funnel the top can stay flat.
In Cage Mold: the seam ears, U clips, base pins and the funnel are built for you (Seam Flanges 6 × 7 mm; the Funnel starts at 80 % of the model's height). Make Mold builds all of it in one step.
5. Print the box
Print the parts the way they are built: the box parts stand on their feet, the clips lie flat. PLA is enough.
- For a leak-tight box, 0.2 mm layers and at least two walls (perimeters).
- When the model prints as one piece with the base, its surface goes into the mold: the model is worth printing with fine layers.
- On a well-tuned FDM printer the pins, clips and locks need about 0.25 mm of tolerance. If parts go together too tightly, raise it.
6. Weigh, mix and pour the silicone
Mold silicone comes in two kinds. Tin-cure (condensation) silicone is mixed with a little catalyst, costs less and cures on nearly any surface. Platinum-cure (A/B) silicone is usually mixed 1:1, shrinks less and lasts longer, but some materials stop it from curing.
- Weigh the silicone on a scale; do not measure it by volume. Use the maker's mix ratio.
- Mix about 5 % extra for losses.
- Stir slowly, scraping the sides and the bottom, without whipping in air.
- Degas it in a vacuum chamber if you can. Without one, pour in a thin stream, from high up and always at the same spot; the bubbles burst on the way.
- Fill the box slowly through the funnel or the lowest corner, so the silicone rises round the model from below.
Platinum silicone can stay tacky where it touches sulfur-based modelling clay, latex gloves or resin prints that are not fully cured. With a new material, pour a small test first.
The silicone you need is the box's inside volume less the model's volume. The calculator works it out for you; filling the empty box with water and weighing the water works too (1 ml of water weighs 1 g).
In Cage Mold (Core and Pro): once the mold is built, the action card shows the silicone in grams with its A/B shares, and the weight is printed on the box's foot.
7. Demold
Wait for the silicone's cure time (4-24 hours at room temperature for most; check the maker's figure). Take the clips off, pull the box parts away along their directions and lift the silicone mold off the base. Once the model is out, the mold is ready to cast in.
To keep the mold in shape while you cast, put the box parts back round it. For a thinner outer shell, print a separate casting box.
In Cage Mold (Pro): Casting Box builds a second, thinner shell that wraps the cured mold while you cast.
Which kind of mold?
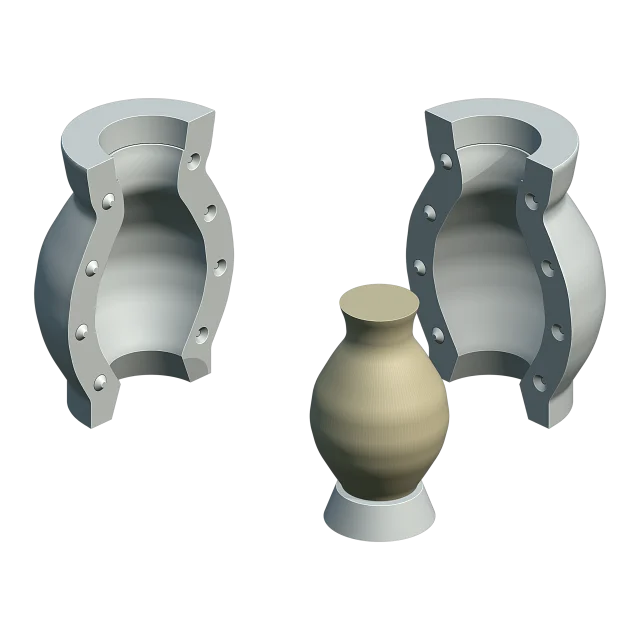
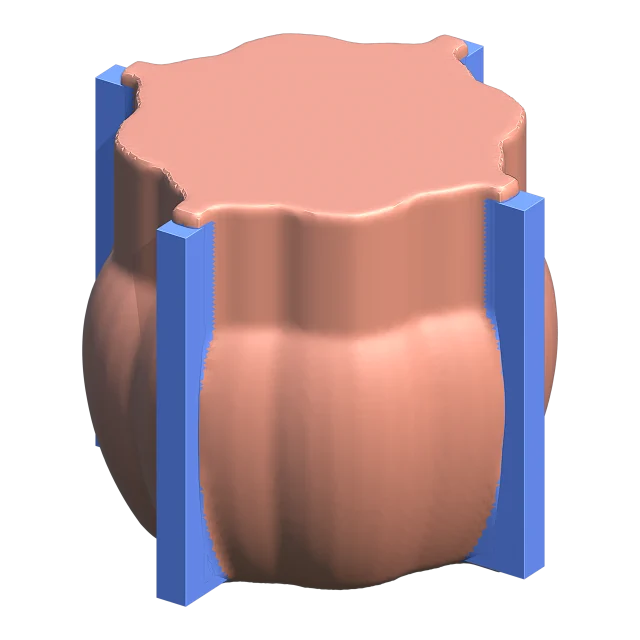
- Most figures, vases and decorative objects: a box that follows the model and splits in two or four (Fitted Box).
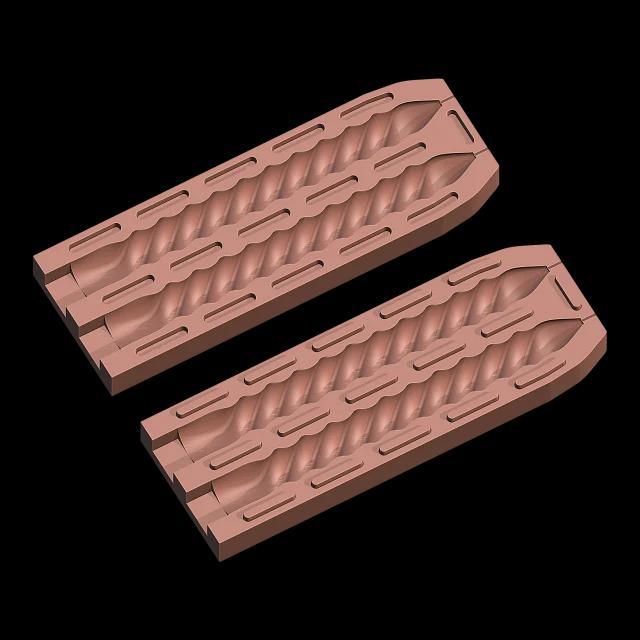
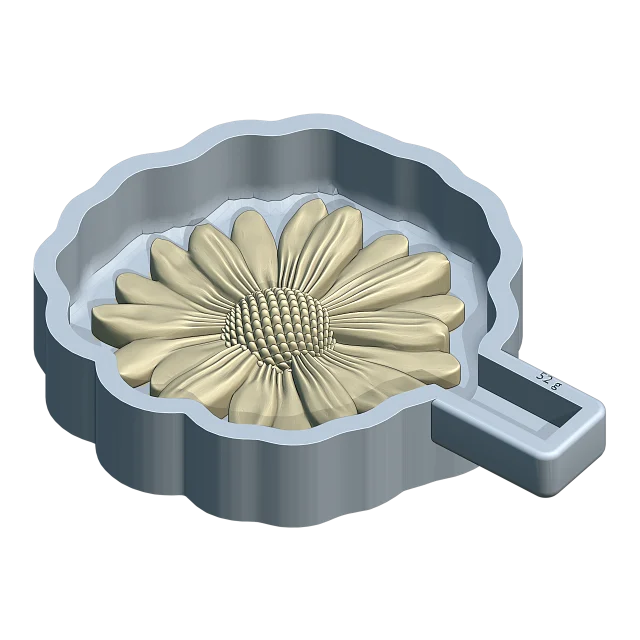
- Flat-backed, plain models and reliefs: a one-piece tray (Tray).
- Long, thin candles closed all round: two silicone halves (Two-Part Mold).
- Complex models a one-piece skin cannot release: several silicone parts (Multi-Part).
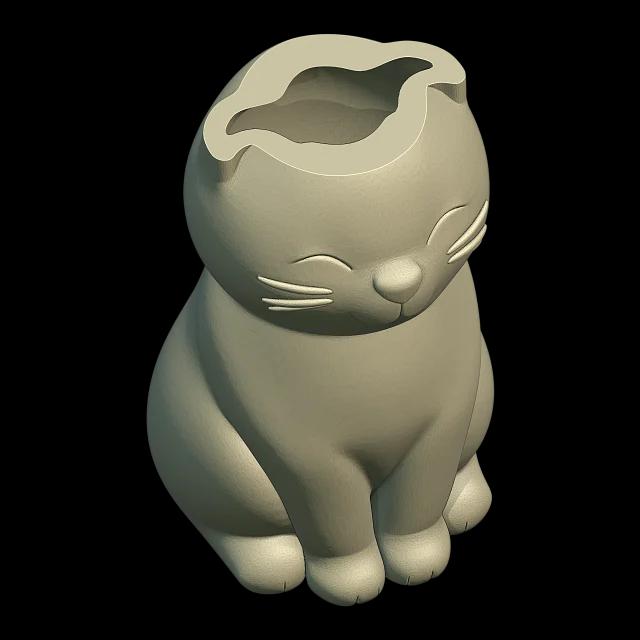
- Hollow models such as planters and pots: a box with a core inside (Cored Mold).
Guide: How to make a silicone tray mold →
Guide: How to make a multi-part silicone mold →
Guide: How to make a silicone mold with an inner core for hollow casts →
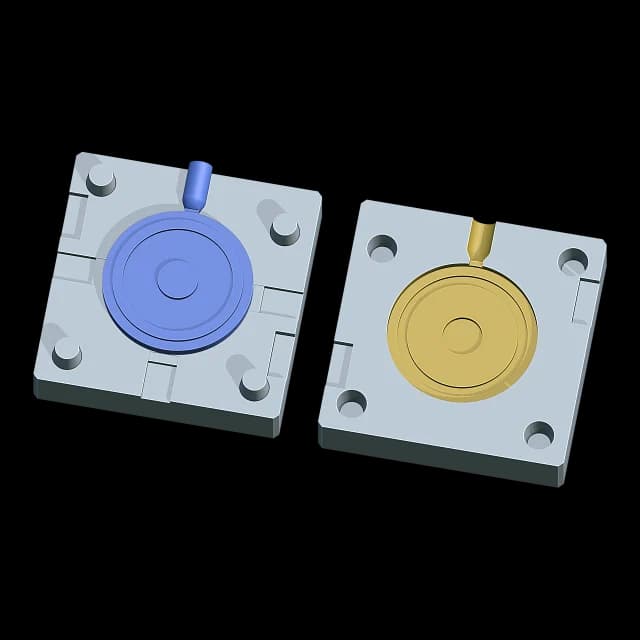
Plastic parts instead: How to make a mold for a desktop plastic injection machine →
How much silicone do you need?
Type in the model's size; the calculator gives the silicone's volume, weight and the A/B amounts.