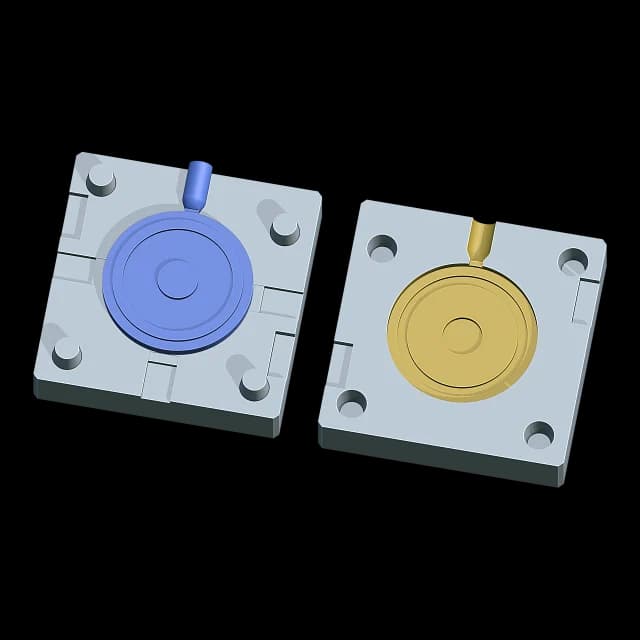
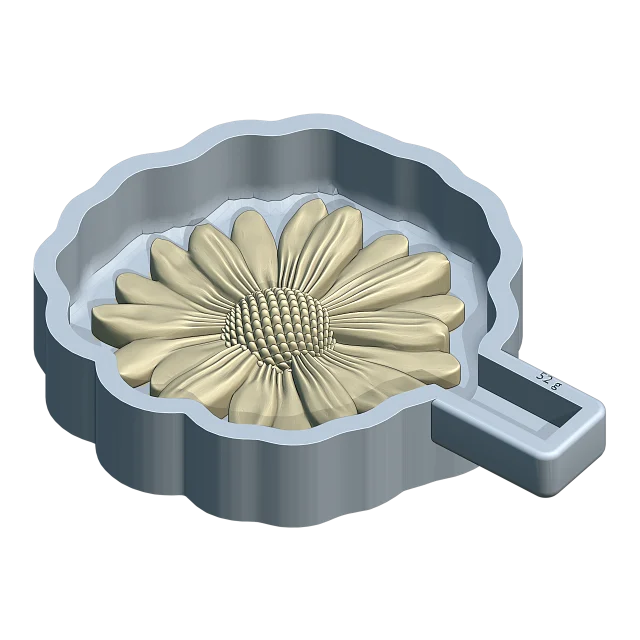
Why a core?
Silicone is the costly part of a mold, and in a hollow model's opening a solid plug does no more work than a skin: a skin a few millimetres thick takes the shape of the inside just as well. The rest of the hollow is the core's. A thin skin also bends, so it lets go of the cast more easily than a solid plug.
- Planters and pots, with or without a drainage hole.
- Candle holders and tealight cups.
- Bowls and vases open at the top.
What you need
- The model as a closed solid, standing upright, its opening up.
- An FDM printer and PLA for the box, the base, the core and the bar.
- Mold silicone and a scale.
- The casting material: concrete, plaster, resin or wax.
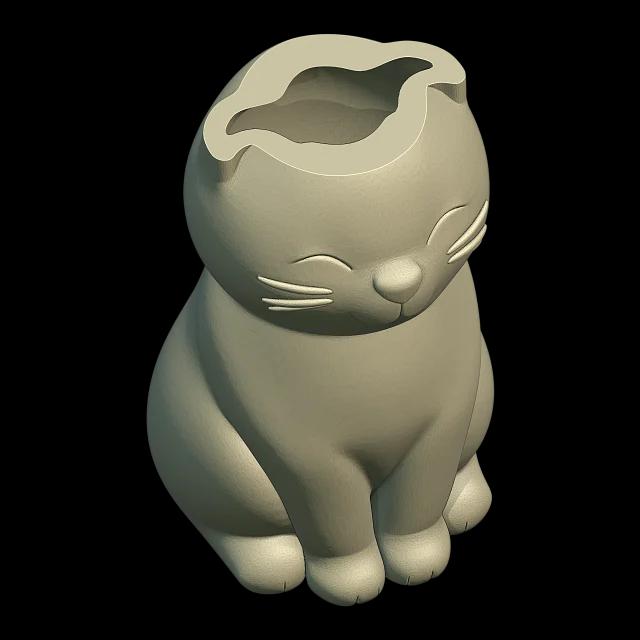
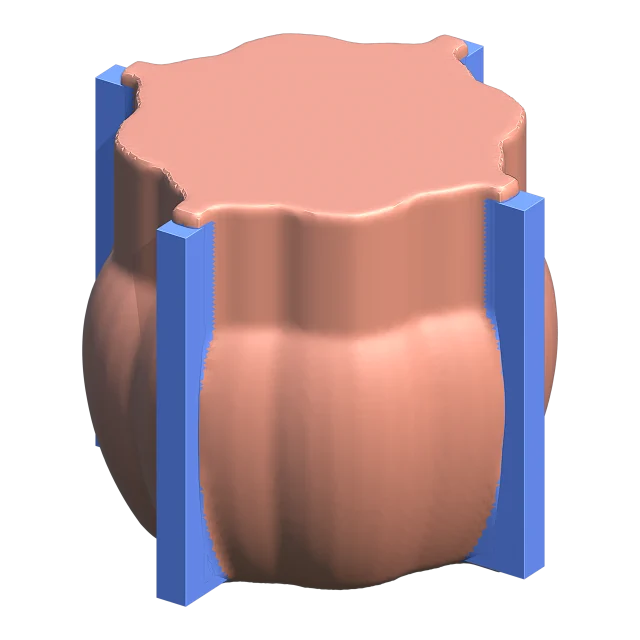
In Cage Mold (Pro): Make Planter turns a solid model into a planter. It cuts the top flat (Cut from Top 10 mm) and hollows the model with a 2 mm wall; the mold for it is a Cored Mold.
The planter itself: How to turn a 3D model into a printable planter or vase →
1. Set the two thicknesses
Outside, the silicone keeps the cast's shape; inside, it lines the hollow. The two are separate choices: a heavy cast such as concrete wants a sturdy skin on both sides.
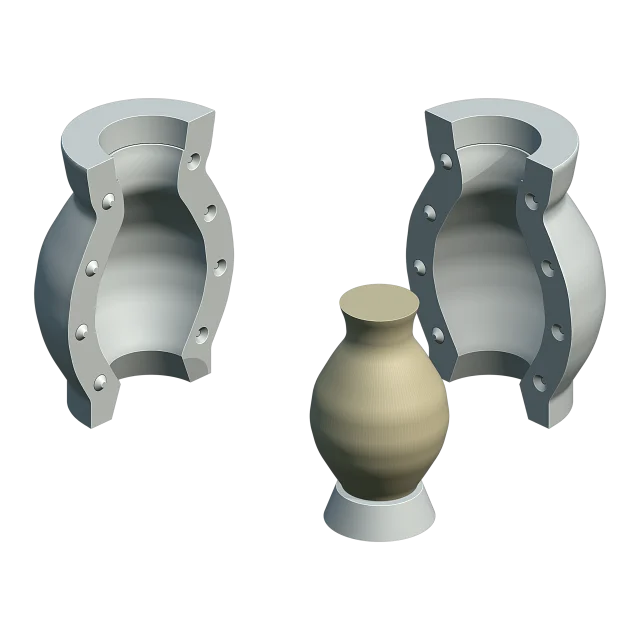
The core is the hollow less the inner skin, and it must lift straight up. Where the hollow is wider below than at its opening, the silicone fills the overhang and the core stays as narrow as the opening.
In Cage Mold: Mold Thickness is 8 mm for this type and Inner Thickness 9 mm, the measures of real concrete planter molds; Inner Thickness follows Mold Thickness + 1 mm until you set it by hand. Bottom Fillet rounds the core's bottom edge (5 mm).
2. Hold the core in place
A loose core floats up in liquid silicone and drifts off centre. It has to be held from above: a bar lies across the box's rim, and the core hangs from it by a key through its middle. A square key keeps the core from turning.
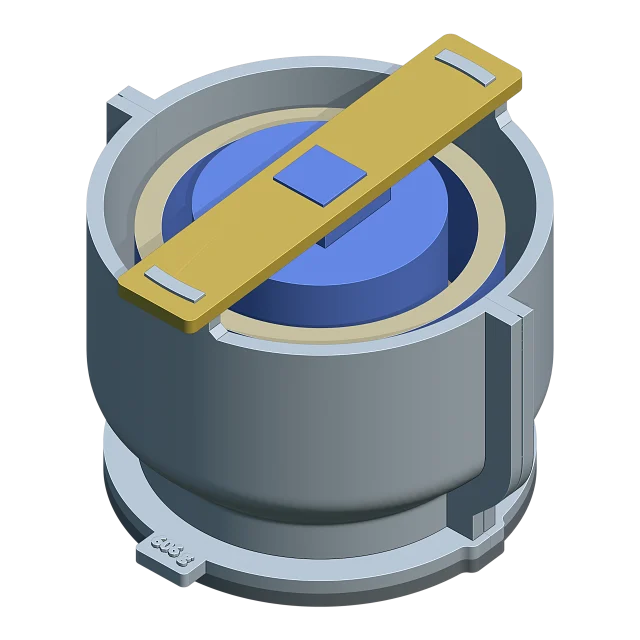
In Cage Mold: the core gets a square key and the bar (Bar Width 30 mm, Bar Thickness 5 mm) rests on two tabs on the box wall; with a split box the bar lies across the split. Power Balanced makes the key smaller for a narrow hollow, down to a 12 mm tab; Aggressive goes down to 6 mm.
3. A flat top
The silicone is poured level to the rim, a mold thickness over the model's top, so the core's key and the bar stay above it. There is no funnel: the open top is where you pour.
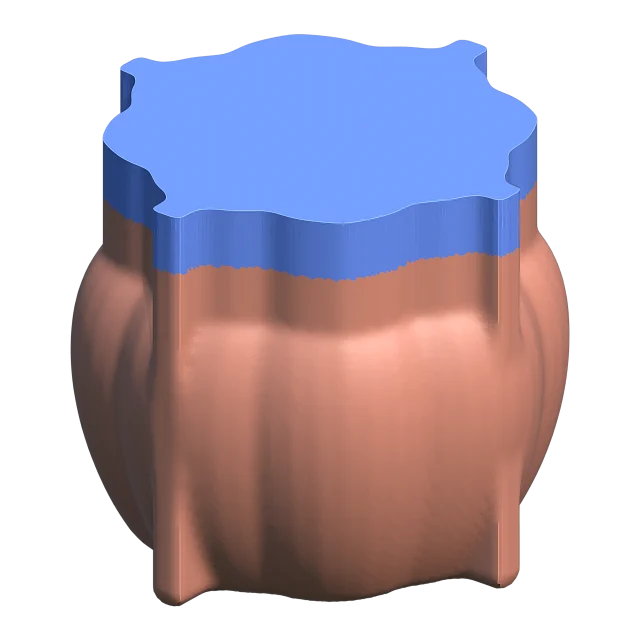
In Cage Mold: a Cored Mold's top is always flat; its Top section says "Poured flat to the rim: no funnel".
4. Assemble and pour
- Print the box, the base, the core and the bar. The core is solid; the slicer's infill makes it light.
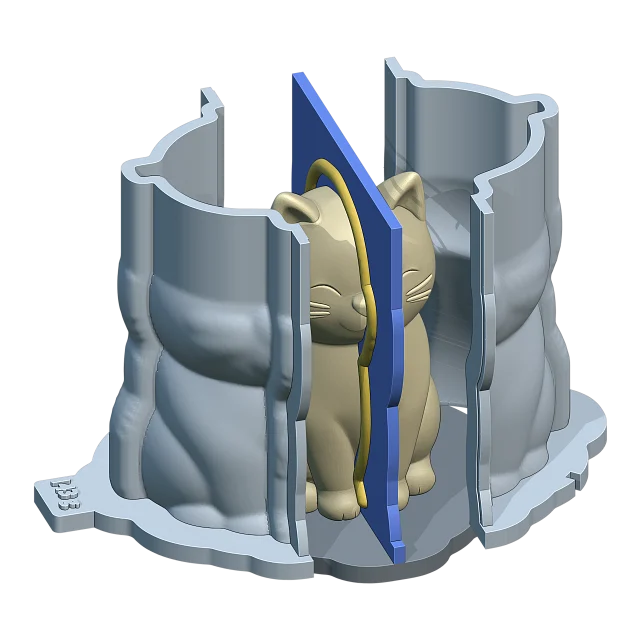
- Assemble the box on the base round the model.
- Bring the core over the hollow, key up, and seat the bar on the box's tabs with the key through its hole: the core hangs in the hollow.
- Weigh and mix the silicone, degas it if you can, and pour it slowly to the rim.
- Once it has cured, take the bar off, pull the core straight up, take the box apart and lift the model out.
In Cage Mold: Make Mold builds the core and the bar with the box. In Step by Step the draft shows the hollow full of silicone and Confirm builds the core and its bar. The silicone's grams are the skin's, without the core.
5. Cast the hollow piece
Turn the mold over. The opening where the model stood on the base is now on top, and the inner skin rises in the middle like the planter's inside. The cast goes between the outer and the inner silicone, and its level surface becomes the piece's bottom.
- Put the box parts back round the silicone so the outer wall does not bulge.
- Fill slowly; tap or vibrate concrete and plaster to let the air out.
- Level the surface: it is the bottom of the piece.
- Demold after the material's own setting time.
In Cage Mold (Pro): Casting Box builds a second, thinner shell that holds the cured mold while you cast.
Common mistakes
- A core with nothing holding it: it floats, and the inner skin comes out thin on one side.
- Expecting the core to fill a hollow that is wider below than at its opening: the core cannot lift out of the overhang, so the silicone there stays thick.
- Silicone poured over the rim: keep the level at the rim, under the bar.
In Cage Mold: the note on the action card says when a key was made smaller, when a hollow was left without a core, or when no core fits at all.
The box itself, step by step: how to make a 3D-printed silicone mold box →
Try it in Cage Mold
Cored Mold and Make Planter are in Cage Mold's Pro package. The 7-day Pro trial opens every Pro tool on one computer, with no card: build the core and the bar for your own planter and see the silicone it saves.
How much silicone do you need?
Type in the model's size; the calculator gives the silicone's volume, weight and the A/B amounts.