Planter, vase or hollow figure?
A solid model can become one of three things:
- A planter, a pen cup or a candle holder: open at the top, a flat rim and a closed floor.
- A vase: the same, its opening where the top is cut.
- A hollow figure, open underneath: it takes less filament and prints faster.
In Cage Mold: Make Planter (Pro) makes the first two, Hollow (Core) the third. Both are among Cage Mold's tools and work on the model while it is prepared, before any mold.
What you need
- The model as a closed solid, standing upright the way the pot will stand.
- A 3D printer and its slicer.
- For a pot that is watered from above or stands outdoors: a drill for a drainage hole.
In Cage Mold: an open mesh is refused and asks for Heal first; Heal closes the mesh's holes.
1. Cut the top flat
The opening is a flat cut near the top. It gives the pot a level rim, and the plant room to go in. Cut where the model is wide: through a thin part, an ear or a stem, the opening is only a small hole.
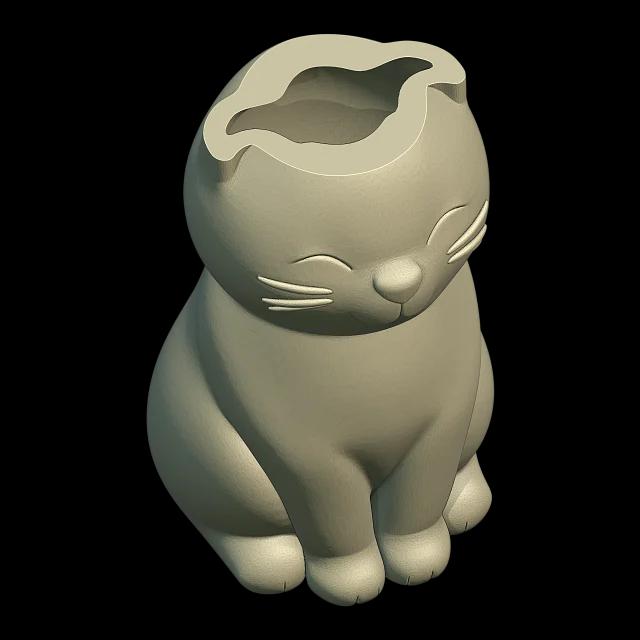
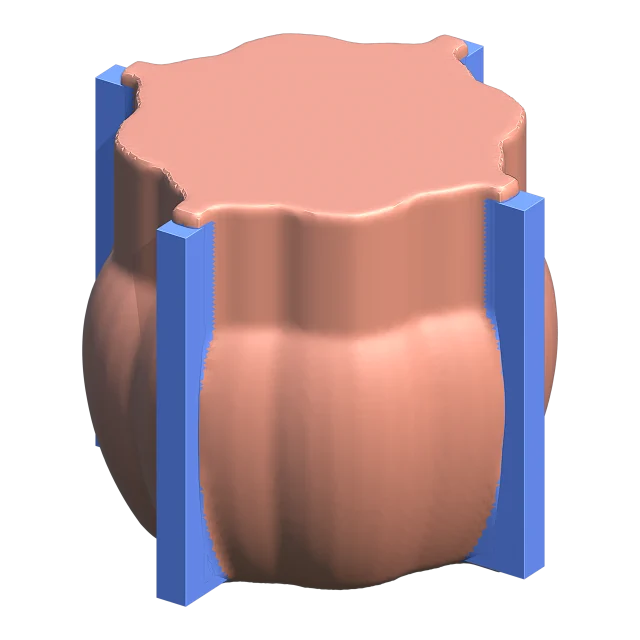
In Cage Mold (Pro): Make Planter cuts the model flat Cut from Top (10 mm) below its top, hollows it and opens the cavity through the cut face. A cut thinner than the wall grows to wall + 1 mm; when the cavity does not reach the cut (a thin top: a stem, an ear), the cut is made deeper by itself, and the status bar names the cut it used.
2. One wall thickness everywhere
The wall is what you print. Move the outer surface inward by the wall and every point gets the same wall, in a fold and under an ear too; a scaled-down copy of the model does not, it comes out thin on one side and thick on the other.
Pick a wall your slicer can fill with whole lines, and check it in the slicer's preview.
In Cage Mold: the cavity is the model's own surface moved inward by Wall Thickness (2 mm), so no wall is thinner anywhere, whatever the shape; the outside stays as it was. Quality Draft, Normal (the default) or Fine sets how fine the calculation is: Fine is smoother and slower.
3. The floor and drainage
A pot outdoors, or one watered from above, needs a hole in its floor, or the roots stand in water. A pot that holds a nursery pot inside needs none, and keeps the table dry.
In Cage Mold: Make Planter leaves a closed floor as thick as the wall and a rim at least the wall wide. It makes no drainage hole: drill one through the printed floor, or set a nursery pot inside.
4. A hollow figure, open underneath
A figure that stays a figure can still be light: hollow it, and open the cavity through its bottom. In a resin print a closed hollow traps liquid resin, so it needs the opening most.
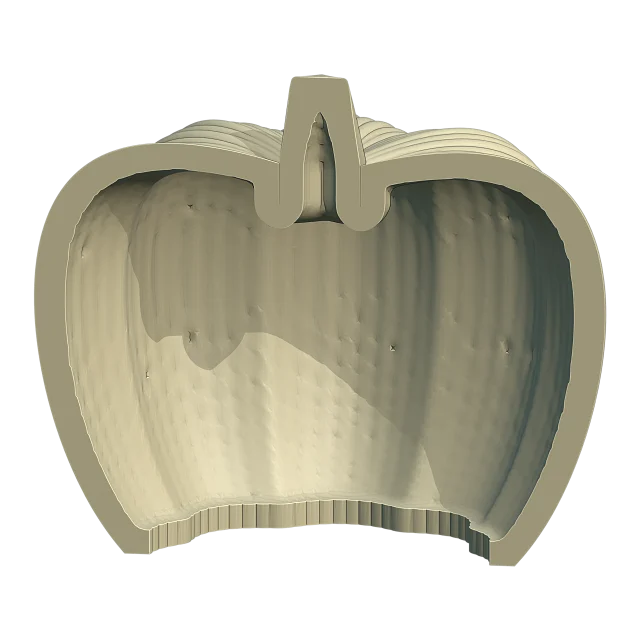
In Cage Mold (Core): Hollow gives the whole model a shell of Wall Thickness (2 mm). Open Bottom (on) opens the cavity through the bottom face, leaving a rim at least the wall wide; when the bottom is narrower than two walls no opening fits, the cavity stays closed and the status bar says so.
5. Print it
- Export the pot as an STL file with Blender's own Export (in Cage mode, in the ≡ menu): Cage Mold's Export writes a mold's parts, and the planter is the model itself.
- In the slicer, stand it on its floor and check the wall in the preview.
- A vase that holds water: FDM layers can seep, so seal the inside or put a glass inside it.
- Drill the drainage hole after printing if the pot needs one.
In Cage Mold: the original model is kept. Remove Hollow brings it back, and pressing Make Planter or Hollow again always works on the original, never on the hollowed model.
6. Or mold it
To make many pots in concrete, plaster or resin, print the planter once and make a mold of it. A figure hollowed only to save filament still molds as a solid: with Open Bottom its opening stands shut on the base, so no silicone gets in and the cast comes out solid.
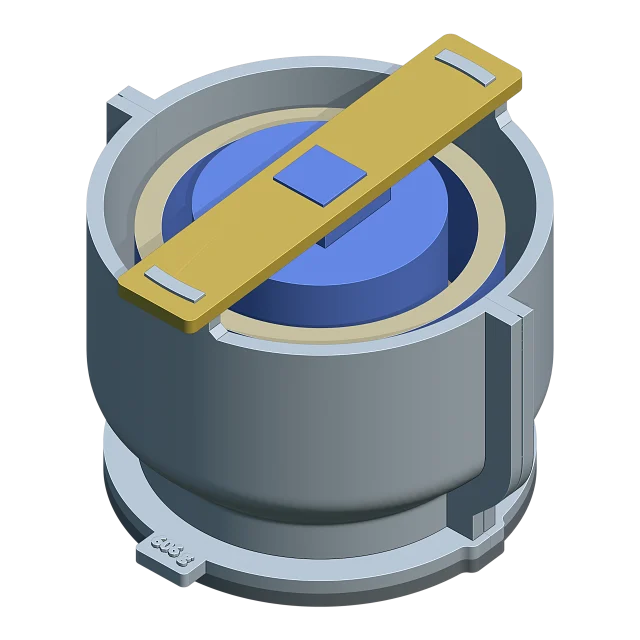
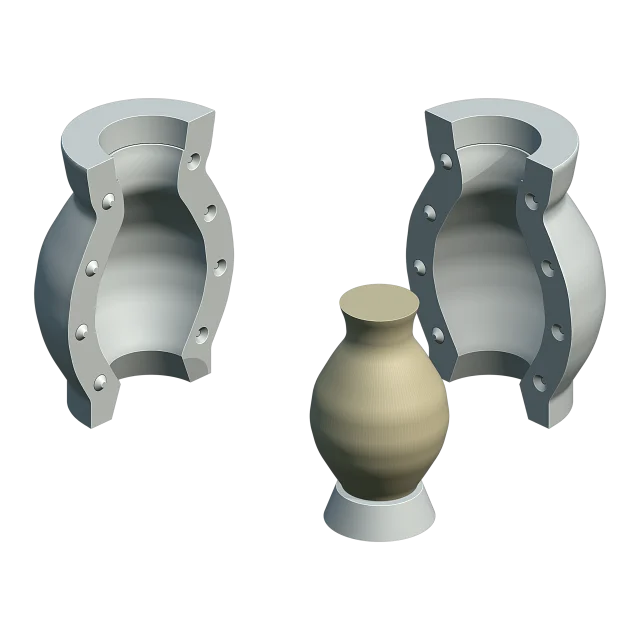
In Cage Mold (Pro): the mold for a planter is a Cored Mold. A printed core hangs in the hollow, so the silicone there is a thin skin, not a solid plug.
Guide: How to make a silicone mold with an inner core for hollow casts →
Common mistakes
- A cut through a thin part: the opening is too small for a plant.
- A wall too thick for the model: no room is left for a cavity.
- A pot that stands outdoors without a drainage hole.
- Hollowing an open mesh: its inside and outside cannot be told apart.
In Cage Mold: a wall too thick for the model is refused with a reason ("A 2 mm wall leaves no room for a cavity in this master"), and an open mesh asks for Heal first.
Try it in Cage Mold
Hollow is in Cage Mold's Core and Pro packages, Make Planter in Pro. The 7-day Pro trial opens every Pro tool on one computer, with no card: turn your own figure into a planter and print it.
How much silicone do you need?
Type in the model's size; the calculator gives the silicone's volume, weight and the A/B amounts.