When is a tray the right mold?
A tray molds what faces up. Everything on the model's top and sides is copied; its underside stands on the floor and becomes the cavity's open face, the back of each cast piece.
- Soap bars and melt-and-pour soap.
- Resin coasters, tiles and pendants.
- Wax melts and flat candles.
- Plaster and concrete tiles, reliefs and coasters.
- Many small, identical pieces cast at once.
A model with detail all round: How to make a 3D-printed silicone mold box →
What you need
- The model as a closed solid with a flat back, lying on that back.
- An FDM printer and PLA for the pan.
- Mold silicone and a scale.
- The casting material: soap, resin, wax, plaster or concrete.
In Cage Mold: Tray is in every package, Lite included. Grid, Step by Step and the silicone and casting figures are in Core; the tray's Casting Box is in Pro.
1. Lay out the cavities
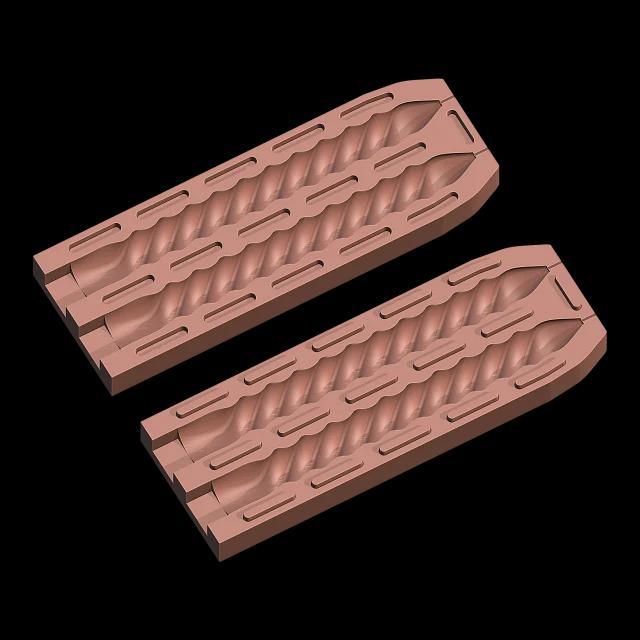
One model makes one cavity. For a tray of several, set copies side by side with a gap between them, so the silicone runs between the cavities and each has a wall of its own.
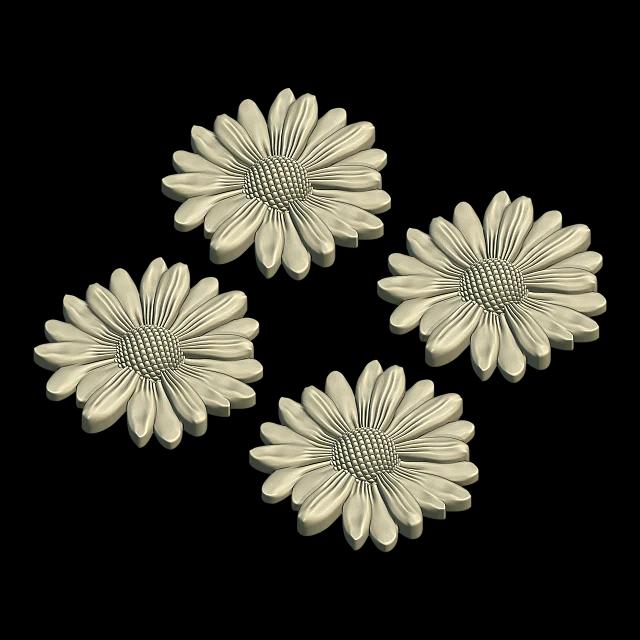
In Cage Mold (Core): Grid copies the model into Rows × Columns (3 × 3) with a Distance (4 mm) between the copies and makes them one model, so the tray is one pan for all of them. Remove Grid brings the single model back.
2. The pan: Optimized or Contour
The cured silicone has to lift straight up out of the pan. So the pan widens from the floor to the rim, nothing overhangs the opening, and no pocket can trap air while you pour. Its top is open and flat, a silicone thickness over the model.
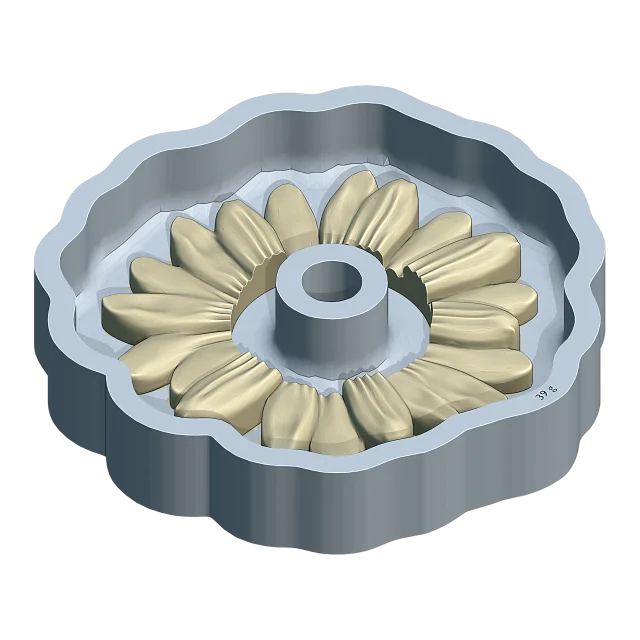
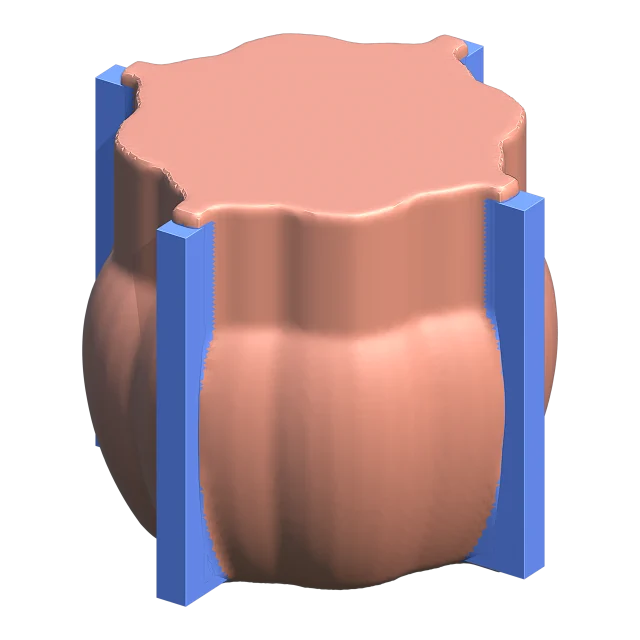
In Cage Mold: the cavity only widens upward and ends flat, Mold Thickness (4.5 mm) over the model's top, with no lid and no funnel. Type Optimized (the default) follows the model: a frame or a ring leaves an island in its hole and takes less silicone. Contour fills the holes, so the silicone covers them too, and is safe for an open or broken model.
3. A grip to pull the silicone out
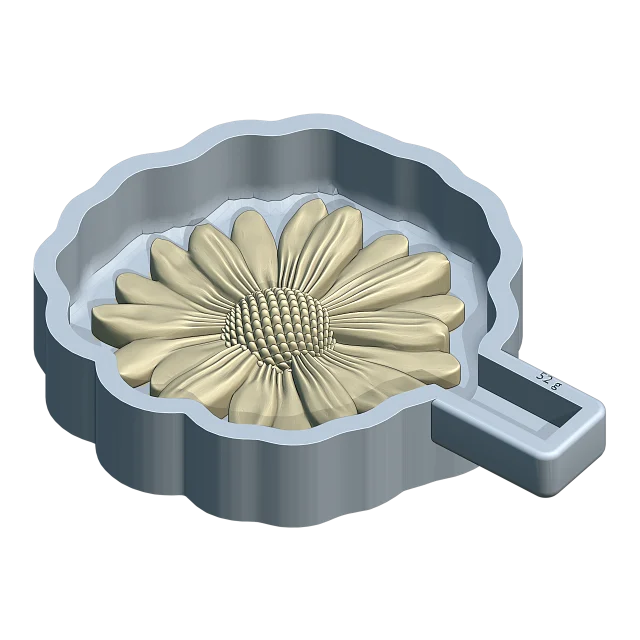
A cured block that fills a pan to its walls is hard to get a hold of. A tab of the same silicone, cast in a pocket in the pan's wall, gives you something to pull.
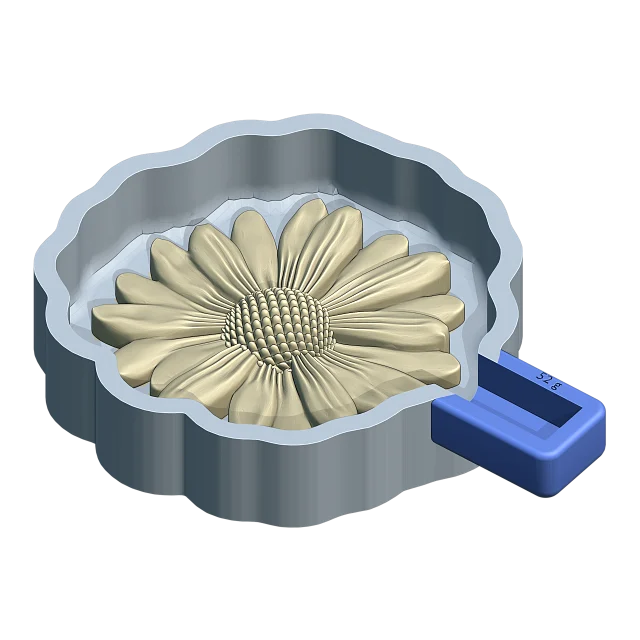
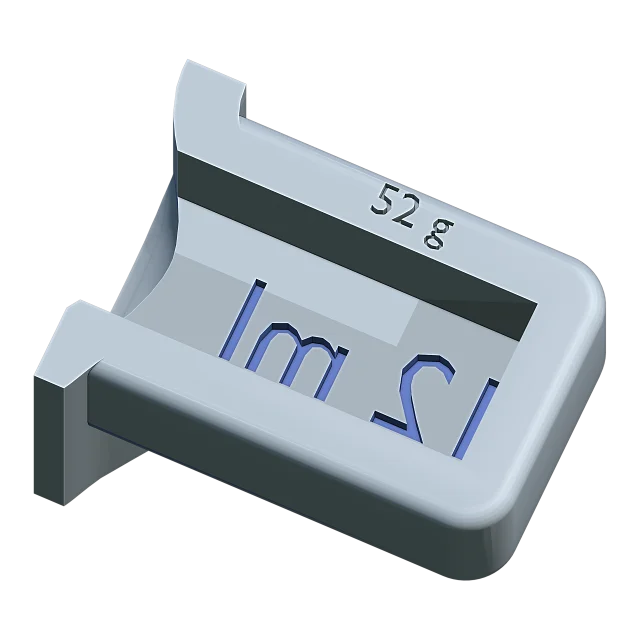
In Cage Mold: Grip (on) casts a silicone handle in a pocket on the pan's side, 20 mm beyond the silicone's edge, 10 mm wide and 7 mm high, its top at the rim. From Core up the pocket carries the silicone's weight; with Casting Volume on, the casting's ml is cut mirrored into its floor, so it reads the right way round on the silicone. In Step by Step (Core), Make Draft gives the grip as an object you move, turn or scale, and Confirm sets it on the side it stands out on most.
4. Hold the model on the floor
A loose model, printed with infill, floats in liquid silicone, and the silicone runs under it. It has to stay on the floor for the whole pour: joined to it, or held on pegs.
In Cage Mold: Master Fixed (the default) joins the model to the tray's floor, and they print as one piece. Unfixed leaves the model loose on the floor, and Model Pins can hold it in place: tapered pegs on the floor that the model drops onto.
5. Print the pan and pour the silicone
- Build the tray and export it; print it as it is exported, floor down.
- Stand the pan on a level surface: the silicone's top levels itself, and that face is the one the mold stands on later.
- Weigh and mix the silicone, degas it if you can, and pour it in a thin stream into a corner, letting it run over the model. Fill to the rim.
- Wait for the silicone's cure time (check the maker's figure), then pull the block out by its grip.
In Cage Mold: Make Mold builds the pan in one step; the card gives the silicone's grams (Core), each part's with an A/B silicone. Export writes the tray as an STL file in millimetres.
6. Cast
Turn the silicone over: the face that stood on the pan's floor is now on top, with the cavities open.
- Set the mold on a flat, level board: a soft tray full of liquid sags.
- Fill each cavity to its edge with soap, resin, wax, plaster or concrete.
- Tap or vibrate plaster and concrete to let the air out.
- Demold after the material's own setting time: bend the silicone back from each piece.
In Cage Mold (Pro): Casting Box builds a frame of the tray's walls and grip pocket without a floor; the cured block goes back into it, turned over, while you cast. Standard keeps the whole frame; Optimized (the default) keeps a band of Width (5 mm, the tray's own) through the middle of each side and one Ring at the Top or the Bottom.
Common mistakes
- A model with detail on its back or round all over: a tray molds only what faces up.
- A loose model with nothing holding it: it floats, and the silicone runs under it.
- Copies set too close together: the silicone wall between two cavities is thin and tears.
- Casting in a soft tray with nothing round it: the walls bulge and the pieces come out wider.
In Cage Mold: a tray has no splits, channels, funnel or clamps. It has no seam, so nothing needs to be aligned or held shut.
Try it in Cage Mold
Tray is in every Cage Mold package; Grid, Step by Step and the figures are in Core, the Casting Box in Pro. The 7-day Pro trial opens every Pro tool on one computer, with no card: lay out your own tray and see the silicone it takes.
How much silicone do you need?
Type in the model's size; the calculator gives the silicone's volume, weight and the A/B amounts.