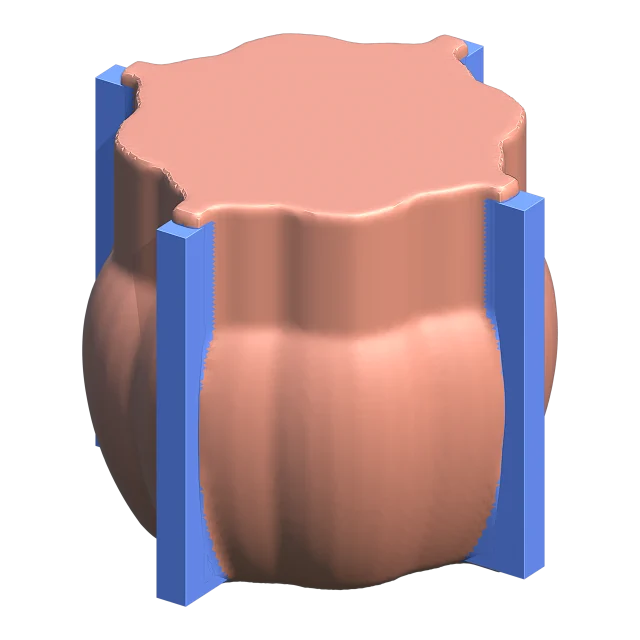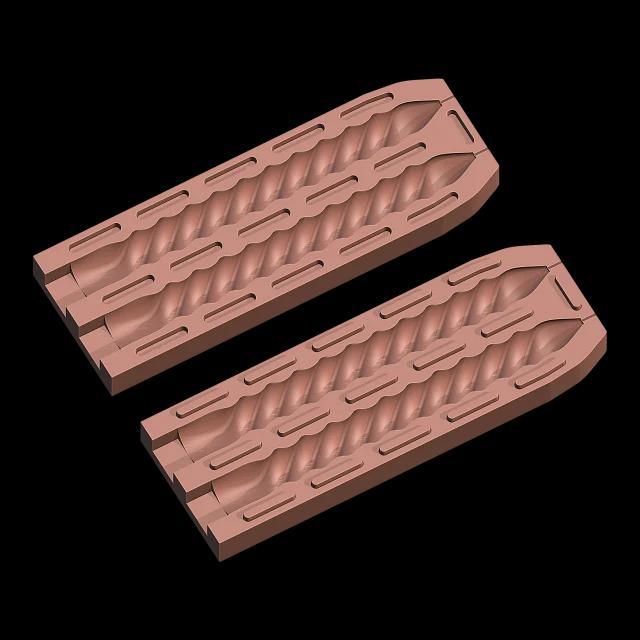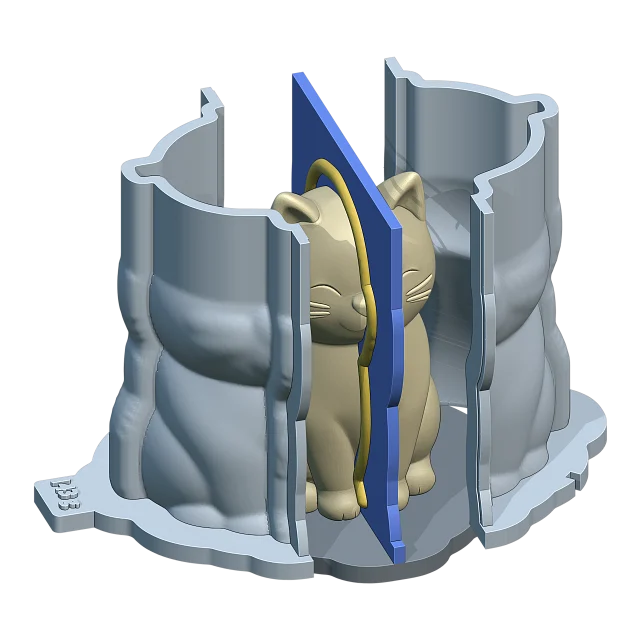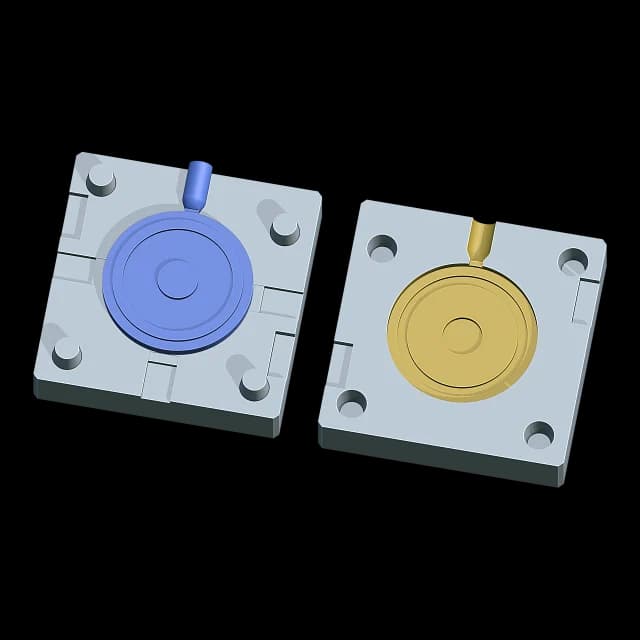
1. Model it at its fired size
Clay shrinks as it dries and fires. So the mold's cavity must be larger than the model: cavity = model / (1 - shrinkage). For a slip that shrinks 12 %, the cavity of a 100 mm vase is about 113.6 mm.
- Porcelain: about 13-15 %
- Stoneware: 11-13 %
- Earthenware: 6-8 %
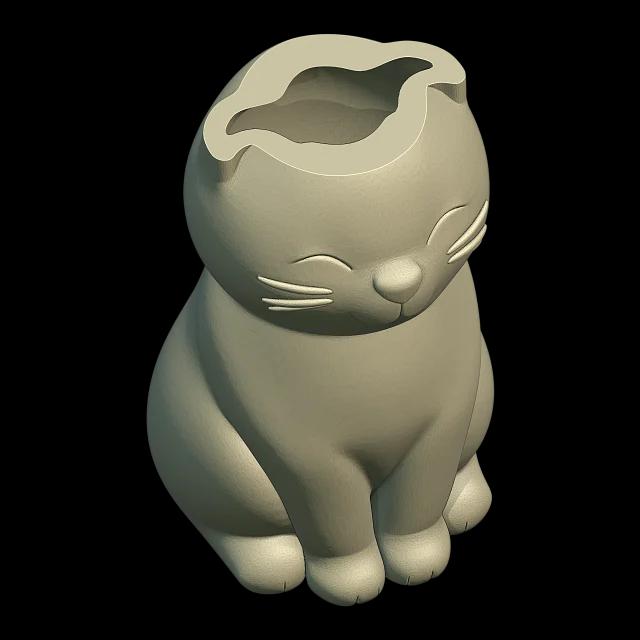
The right figure is on your slip's data sheet. The model must be a closed solid, standing upright as it will be cast.
In Cage Mold: Shrinkage (12 % by default) grows the cavity for you; you model at the fired size.
2. Choose the number of pieces
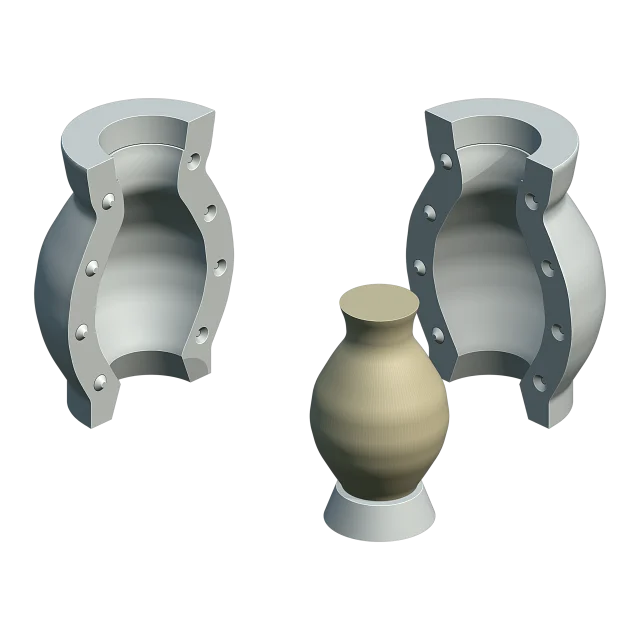
Plaster does not flex. The mold must open without catching anywhere on the cast. A straight cup casts in a one-piece (drop-out) mold; a vase with a handle or a belly needs two, three or more side pieces. A separate bottom piece makes vessels with a foot ring easier.
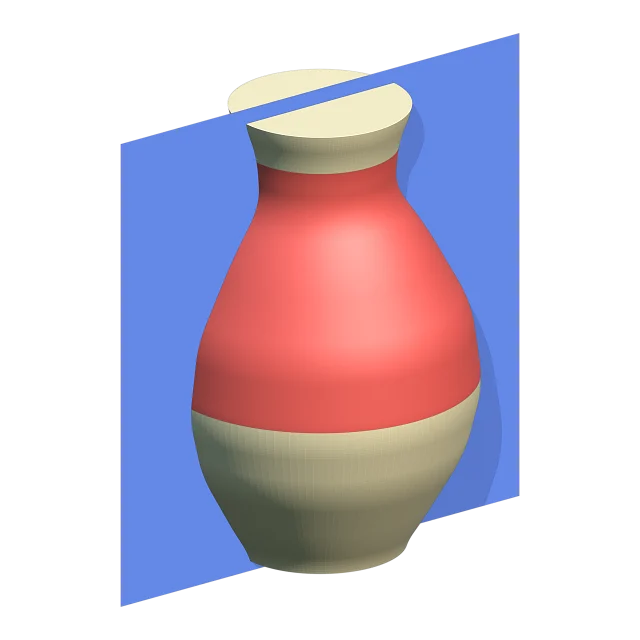
In Cage Mold: Parts on Automatic finds the piece count and turn that lock least and shows the locking faces in red. Bottom Piece builds the bottom piece with the foot ring's recess.
3. Natches, the spare and the thickness
- Natches: cones on the seam faces and the hollows they fit. The pieces close only the right way.
- The spare: the extra above the opening that holds slip. It feeds the wall as the level drops while casting and is cut off afterwards.
- Plaster thickness: 25-50 mm round the cavity. A thin mold saturates quickly, a thick one is heavy.
In Cage Mold: Natches puts male natches and hollows on every seam (16 mm); Spare is a plaster Collar, a Printed Spout or Pour Holes in a figure's base; Plaster Thickness is 30 mm.
4. Weigh and mix the plaster
Plaster and water are weighed. The consistency is the grams of water for 100 g of plaster: around 70 for pottery plaster. Less water gives a hard mold that absorbs less, more water a soft one that absorbs more; use your plaster's data-sheet figure.
- Weigh the water (21-38 °C).
- Sift the plaster onto the water and let it soak 1-2 minutes without stirring.
- Mix 1-2 minutes without whipping in air.
- Pour at once, in one go.
In Cage Mold: with Consistency (70 by default) the plaster and water of every piece are worked out and printed on that piece's case part (such as 1240 g + 868 ml). Export also writes an A4 casting sheet.
5. Pour in a printed case
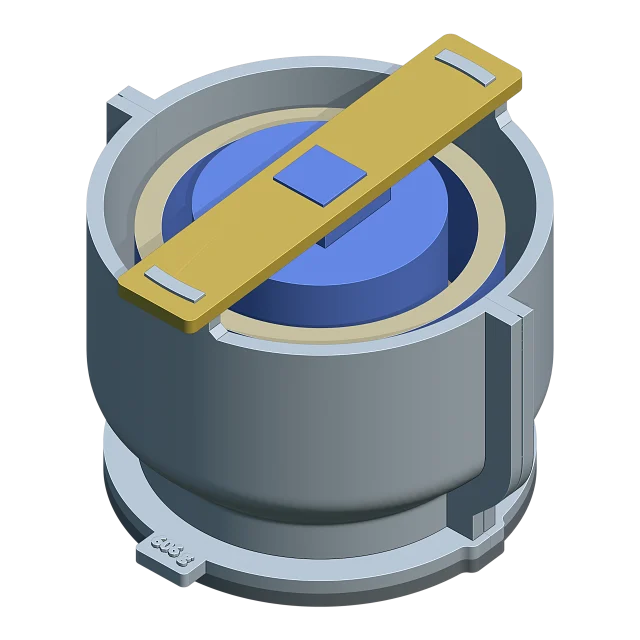
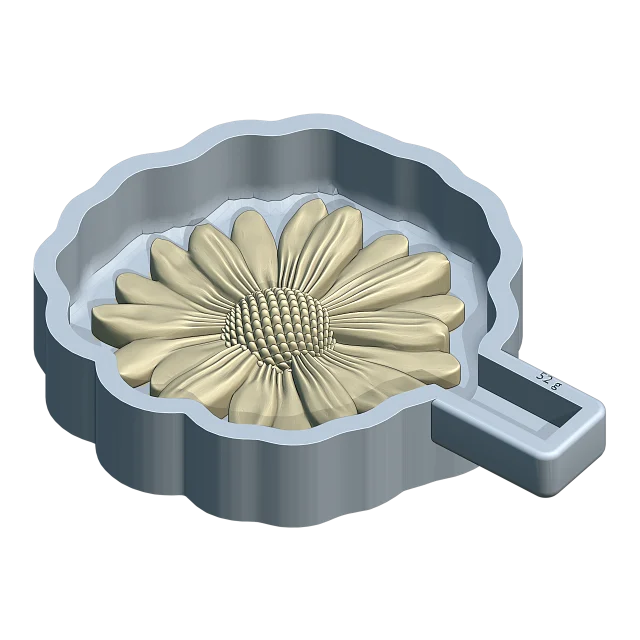
The classic way pours the pieces one by one, soaping between them. In a printed system the model's copy, the walls that part the pieces and the outer case print together, and the plaster pours into every chamber at once.
- Print the model plate and the case and put them together.
- Give every face the plaster will touch two or three thin coats of mold soap.
- Pour the plaster into the chambers in one go.
- After 45-60 minutes take the pieces out and wash them.
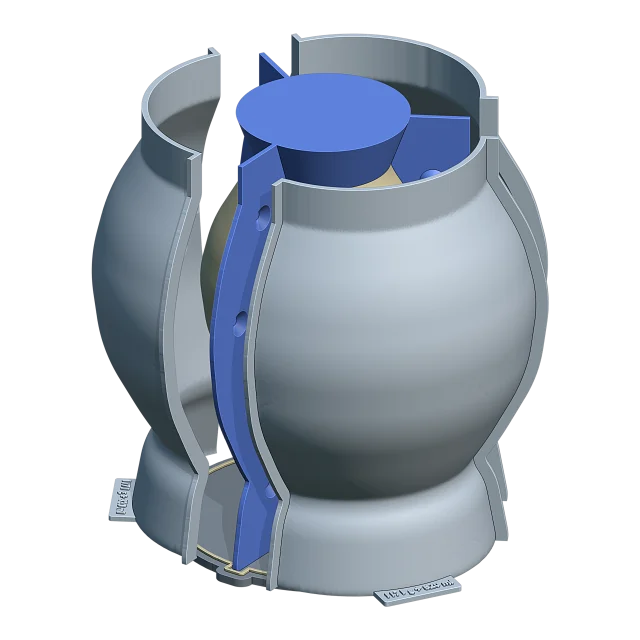
The printed parts can be used again: the same model pours a new plaster mold any time.
6. Dry it and cast
A new plaster mold is wet and will not draw water from the slip. Dry the pieces at no more than 49 °C until their weight stops falling; it takes a few days.
- Close the pieces and strap them with rubber bands.
- Fill the mold with slip through the opening; top it up as the level drops.
- When the wall is as thick as you want, pour out the rest. The time depends on the slip and the mold; on the first cast, check it at the rim.
- Once the clay firms up, cut off the spare and open the mold.
How much silicone do you need?
Type in the model's size; the calculator gives the silicone's volume, weight and the A/B amounts.